“Increase Your Car’s Performance Battery Voltage Stabilizer Grounding” I mentioned the additional chassis method for passenger cars in my post. I applied it on my car. Preparing the cable was a lot of work but I think the result is very good.
I have carried out a series of operations to increase the performance of my vehicle with the additional chassis method applied to passenger cars. Although this process is a bit challenging, the results are quite satisfactory. Here are the operations I have carried out and the results I have obtained:
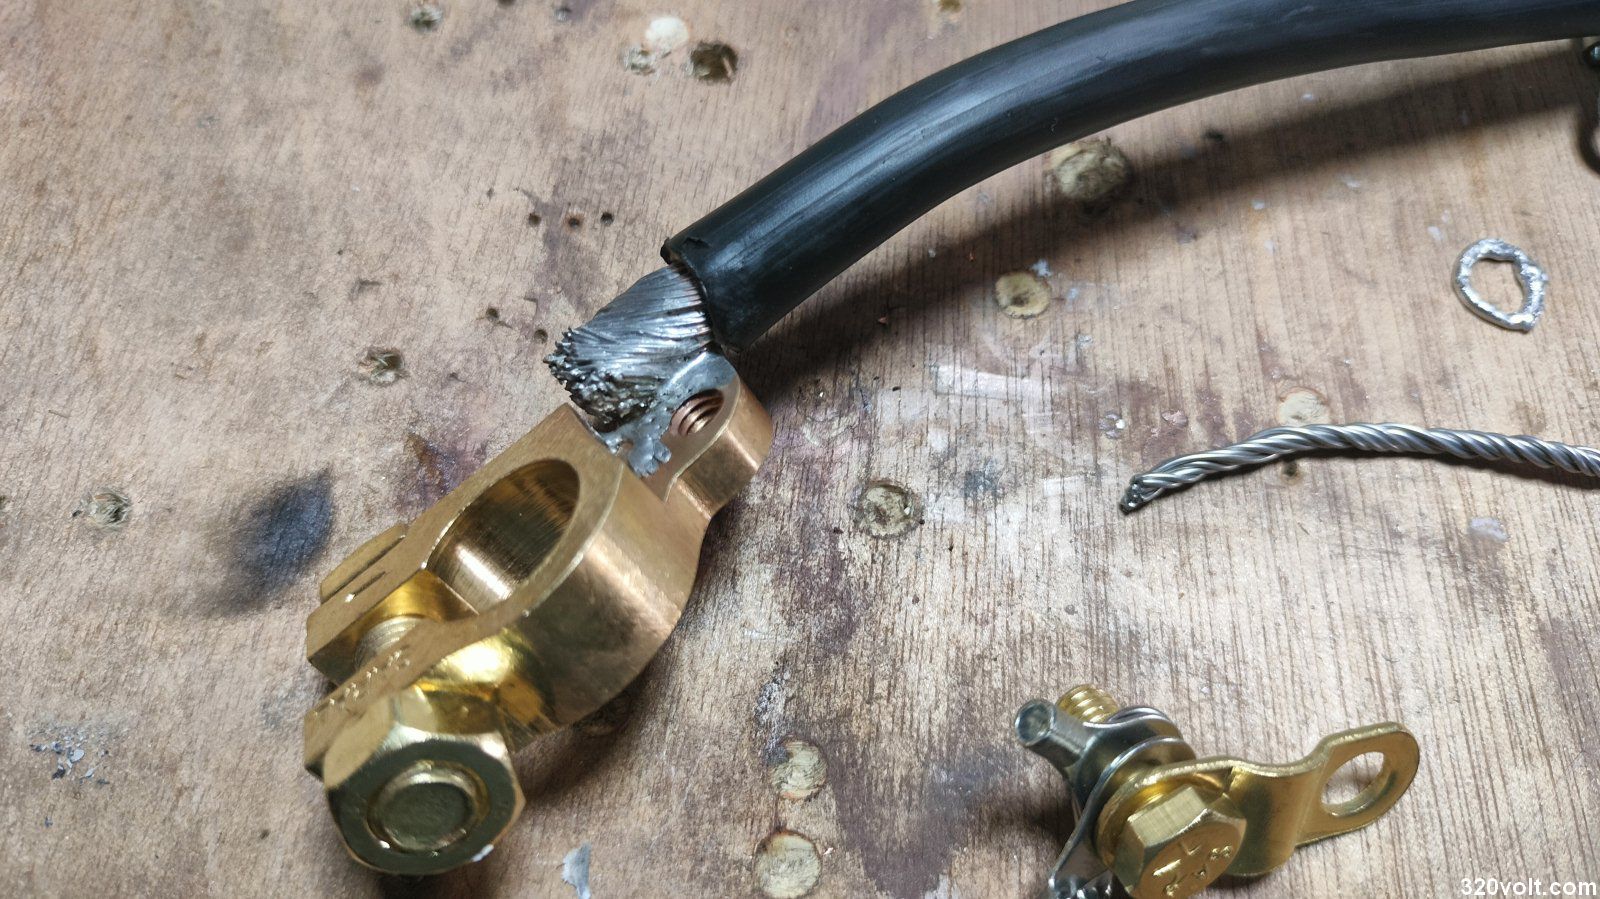
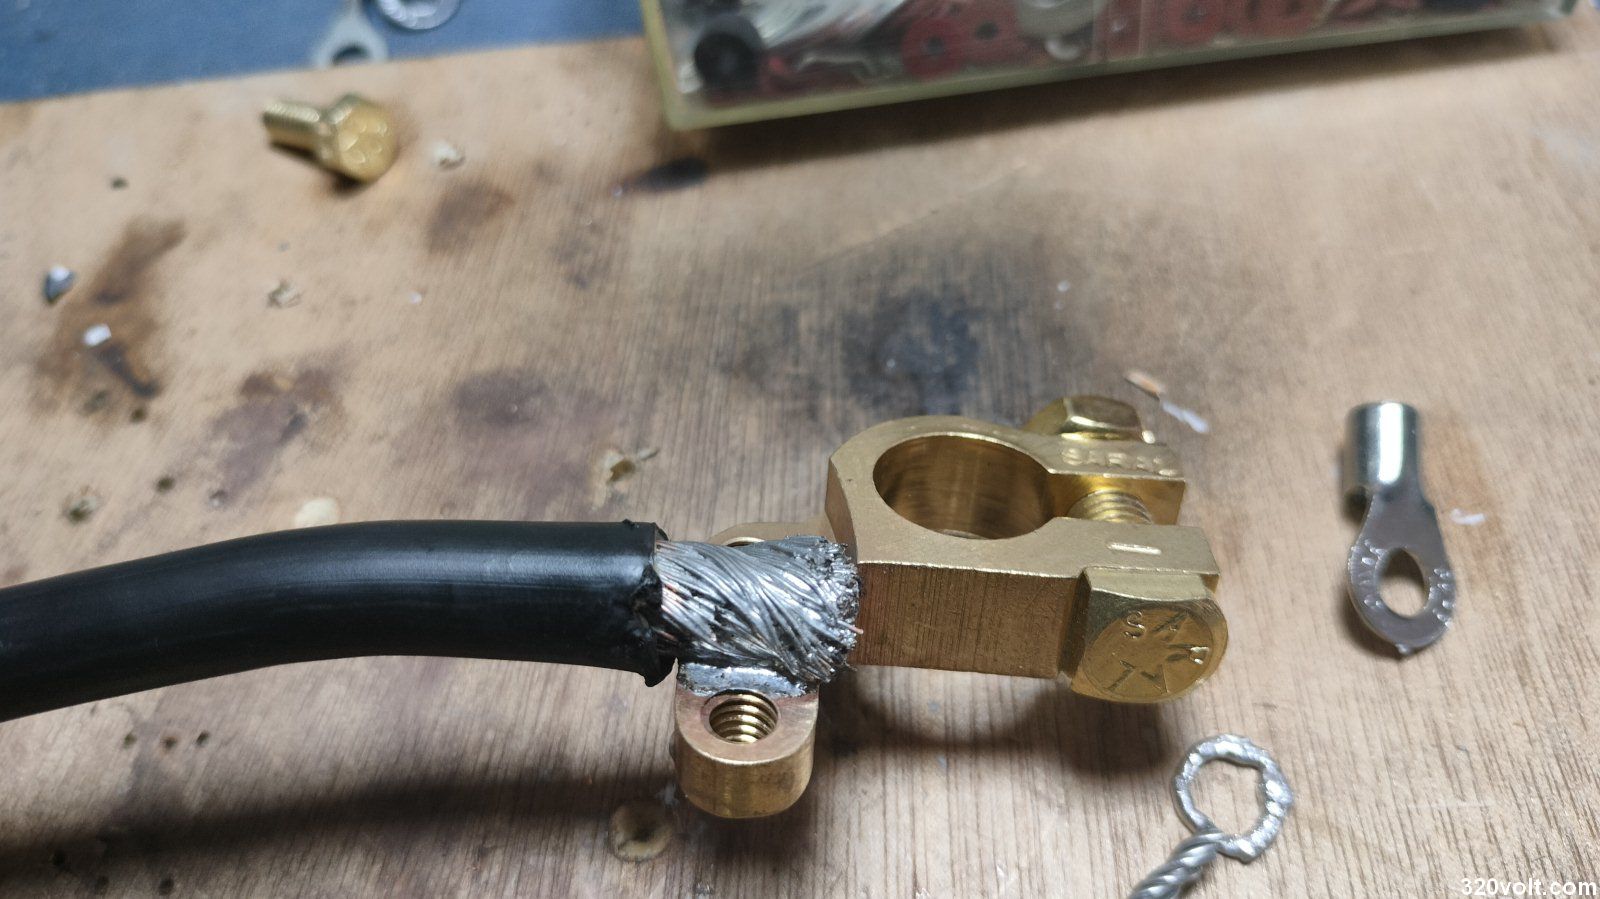
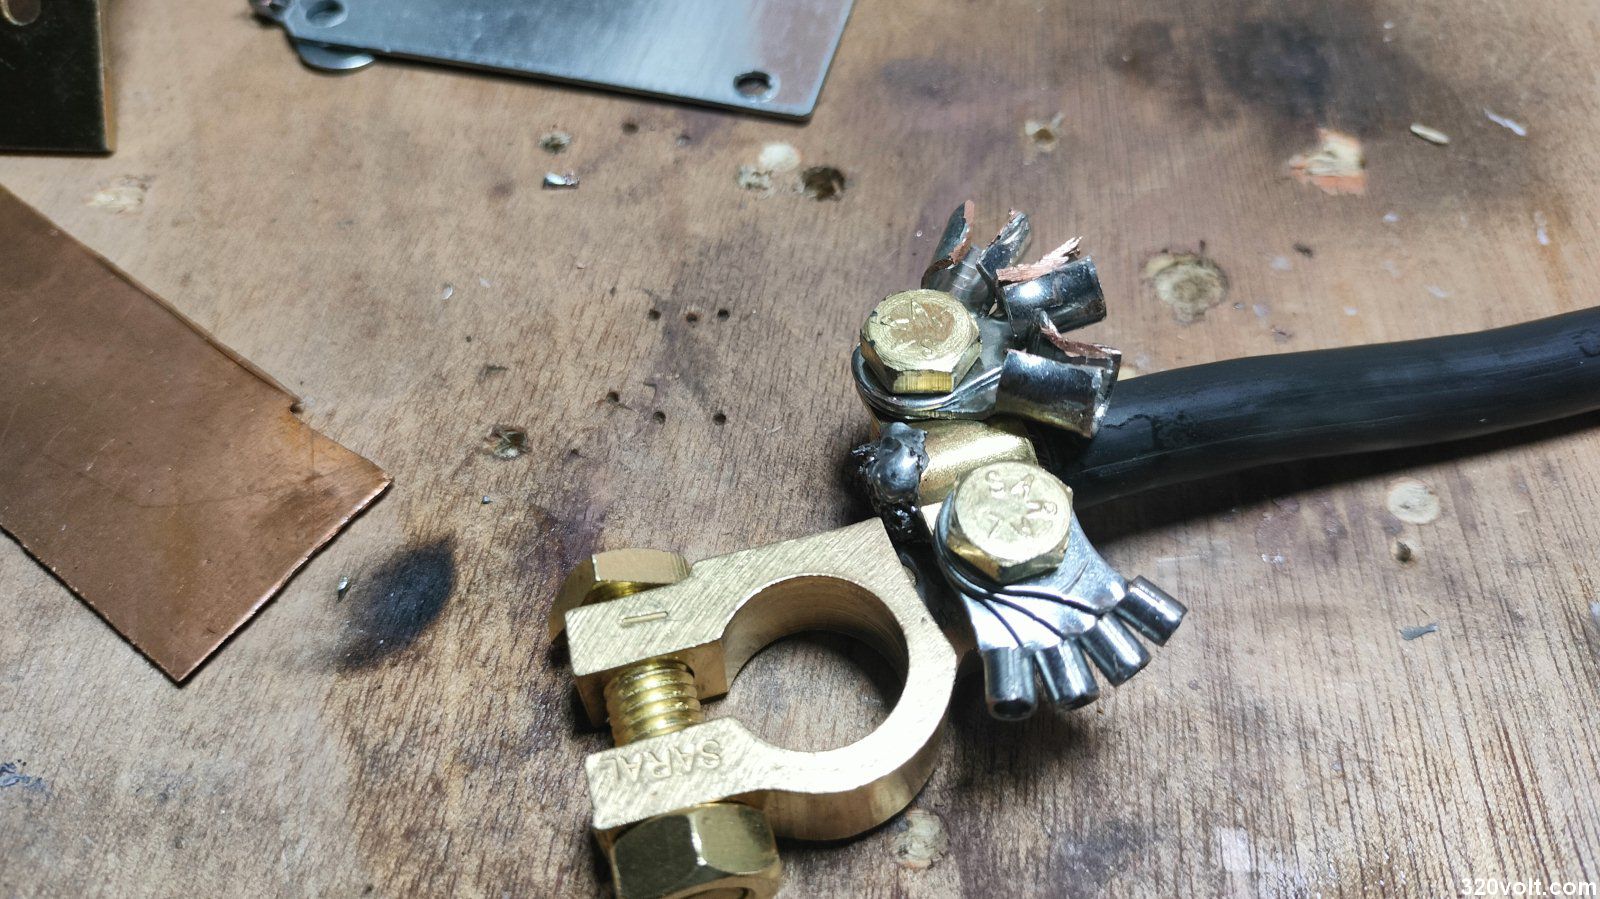
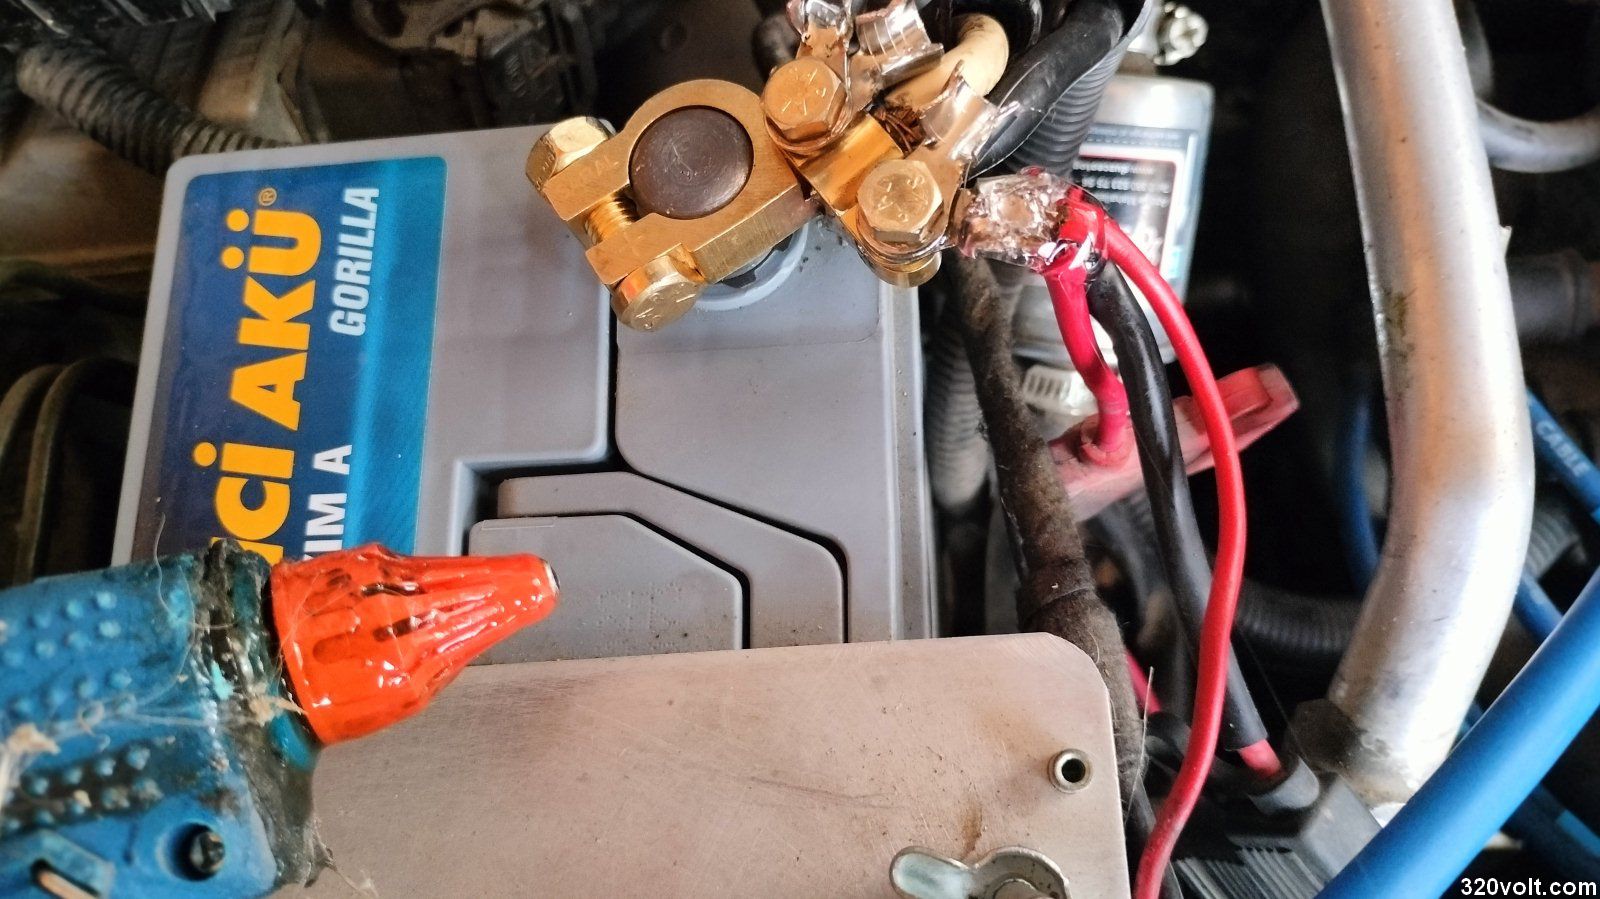
1. Replacing the Battery Terminals
First, I changed the battery terminals. I used Saral brand standard thick type terminals. The quality of these terminals is quite good and the copper ratio is high (36% brass metal, 64% copper mixture). In addition, it can be easily soldered with flux.
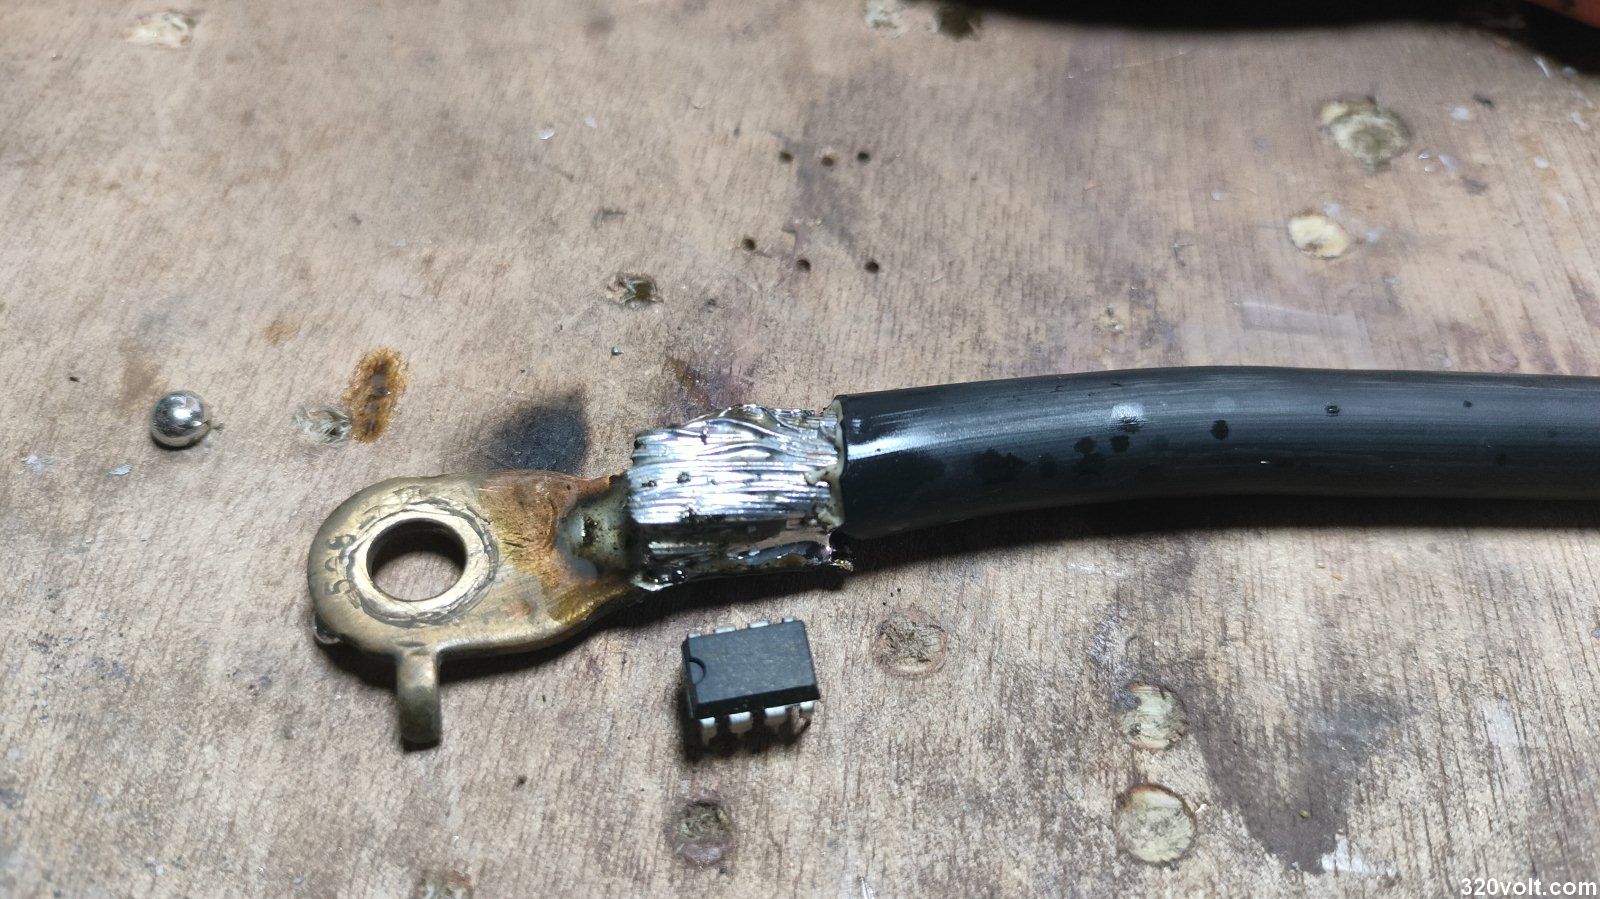
2. Replacing the Main Chassis Cable
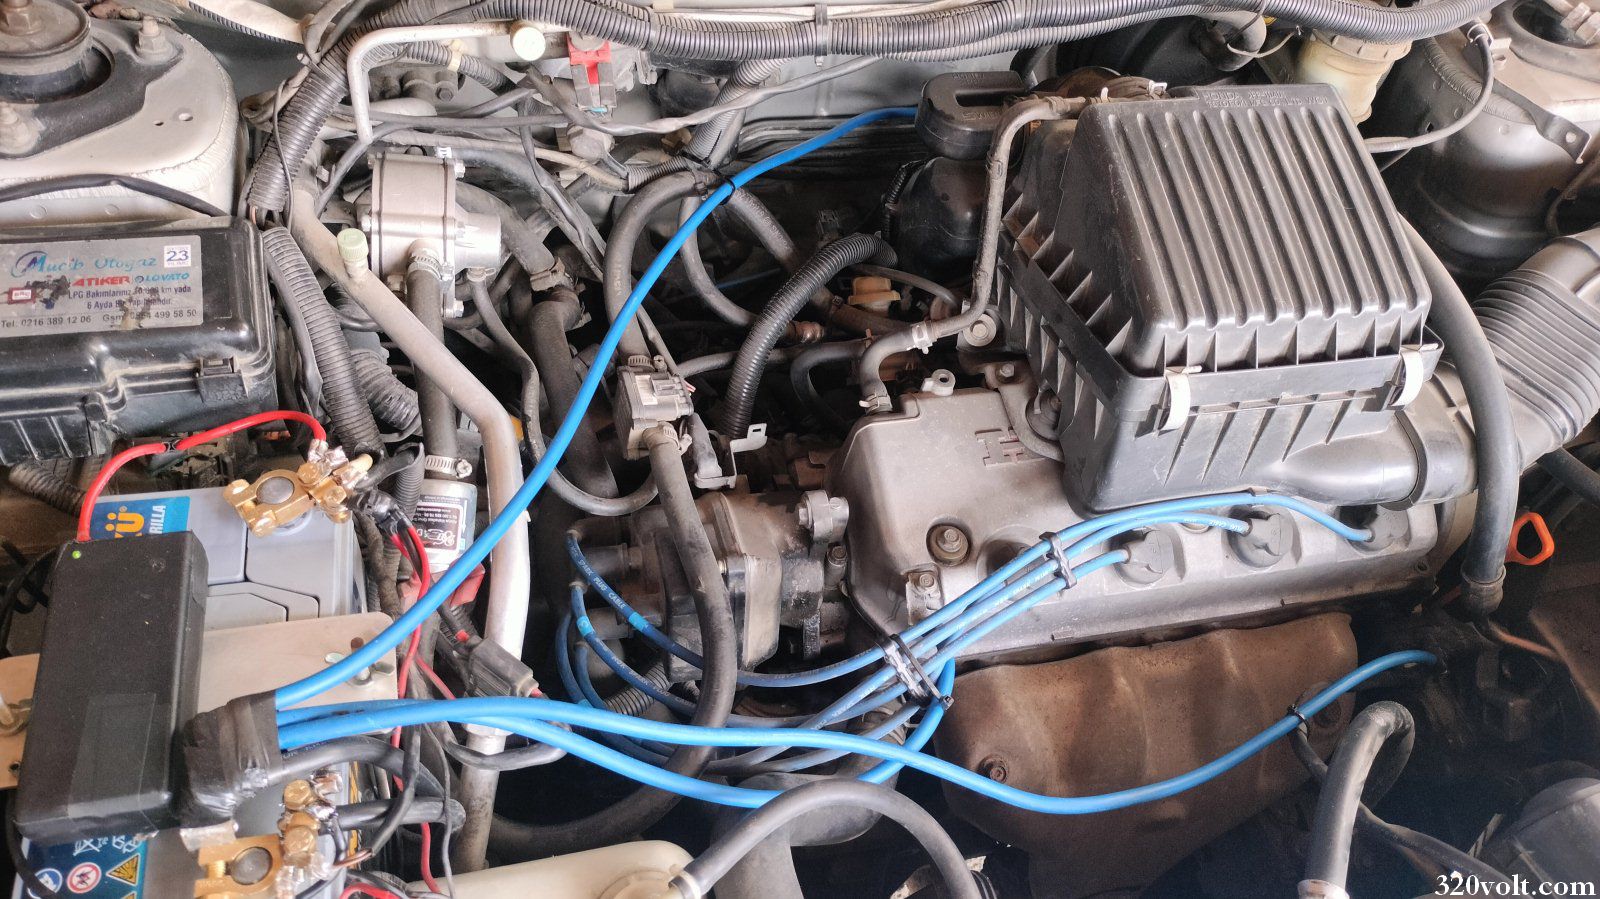
The main chassis cable from the battery to the body was approximately 20-22mm² thick. I replaced it with a 35mm² thick cable. However, the soldering process was quite difficult because the cable was very thick. I completed the soldering process using a 100W soldering iron and a hot air gun. I also reinforced the connection screwed to the body with a metal piece from the middle of the cable, with an additional 35mm² thick cable.
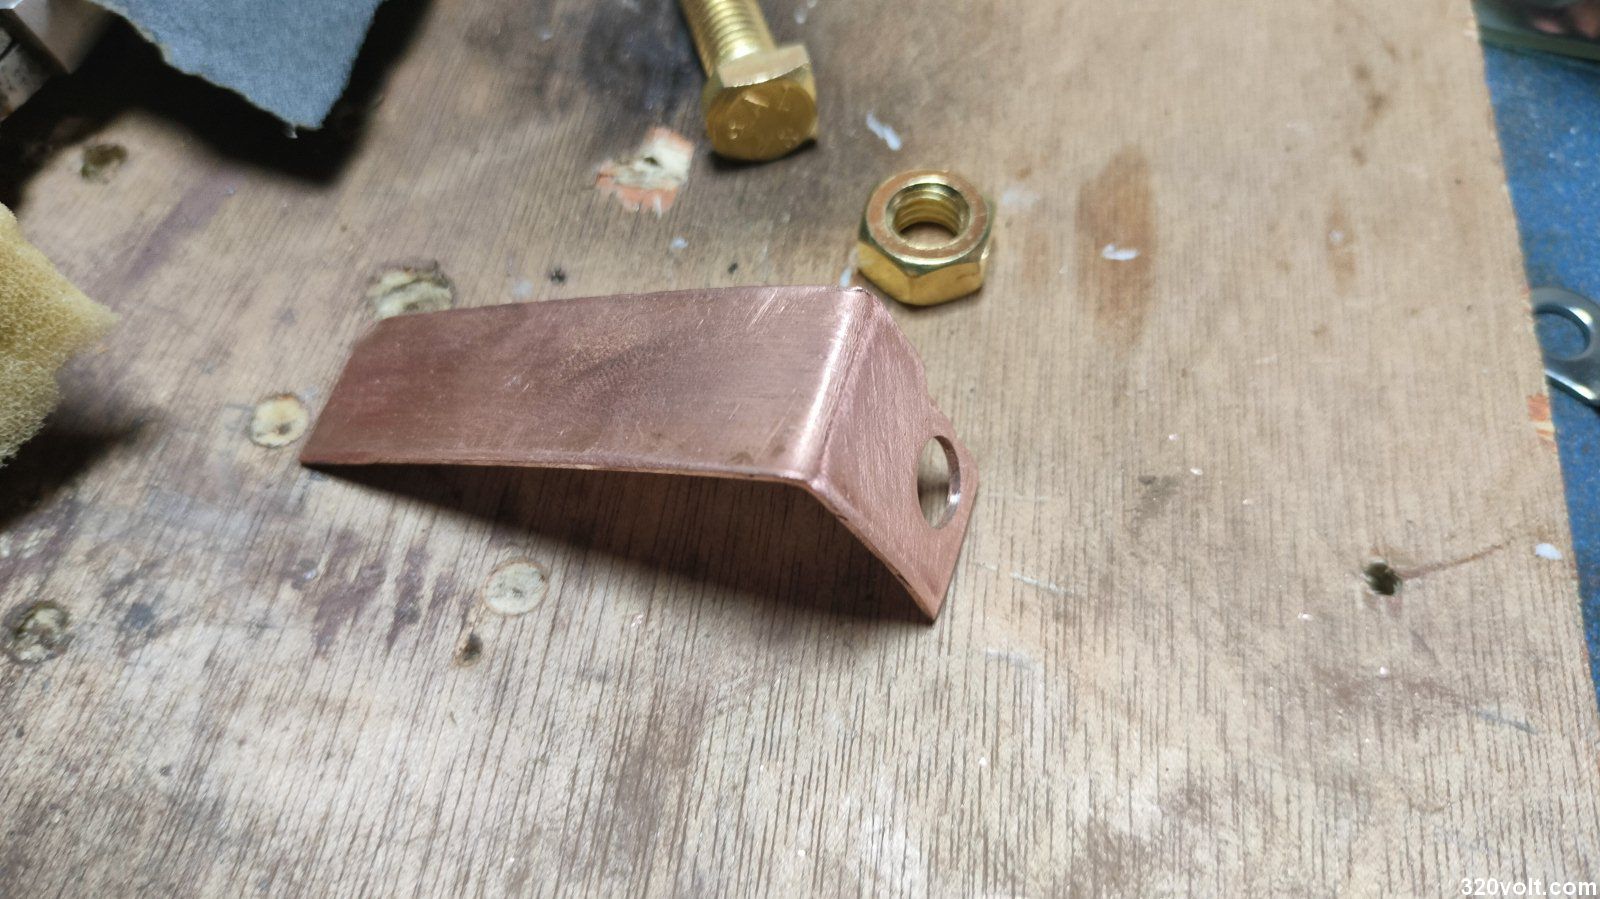
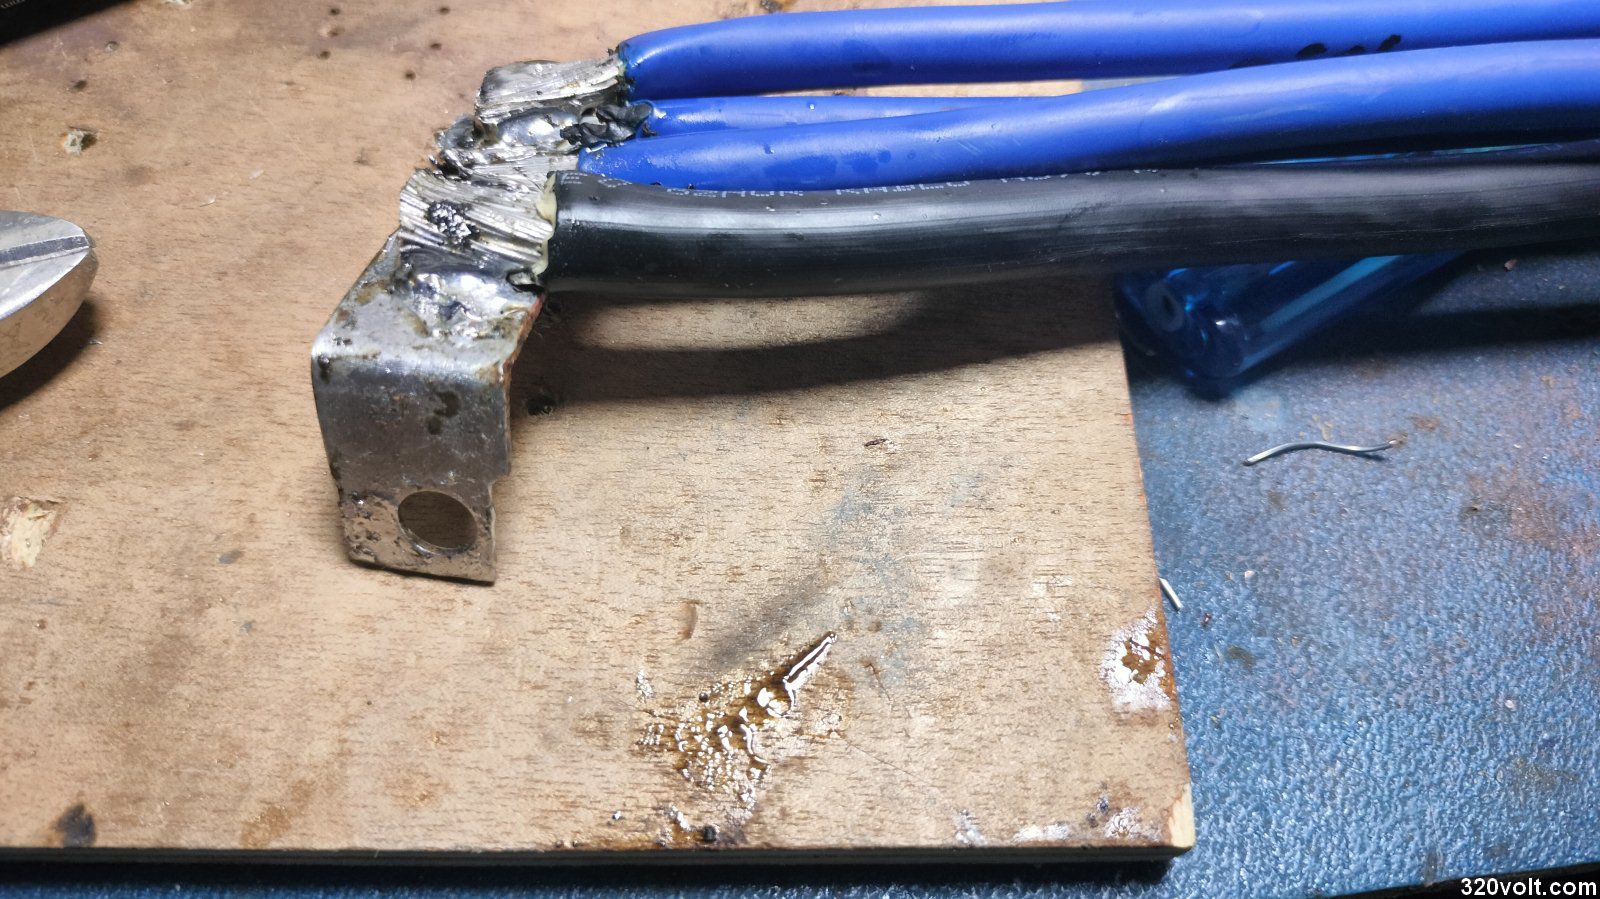
3. Placing the Distribution Cables
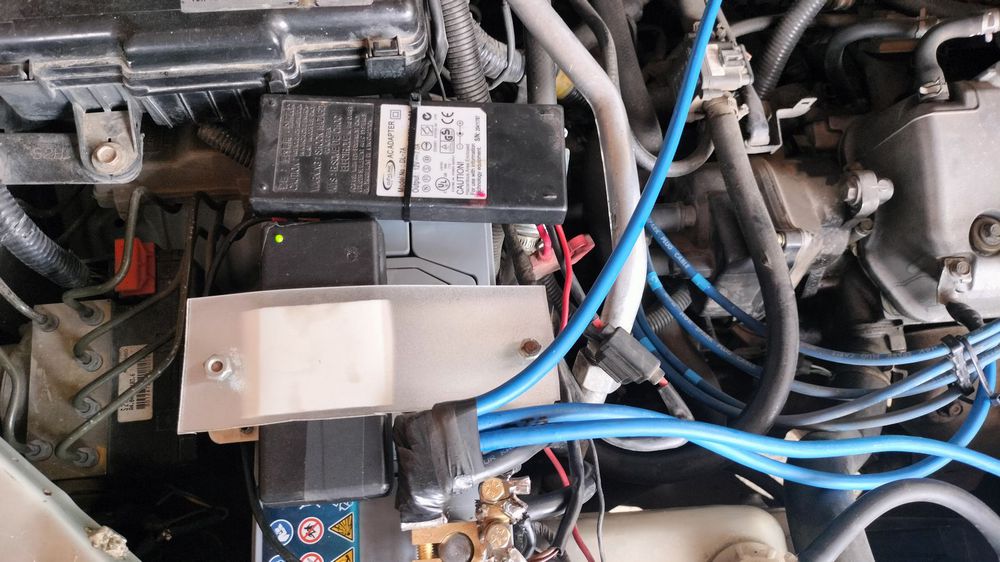
I prepared an L-shaped piece using a pure copper sheet for the other distribution cables. I soldered all the cables by covering this piece with solder. After attaching the battery terminals, I connected the small and large terminals to the screw sections for the other connections. However, my cable calculation did not work and I could not connect the left fender to the distributor. I plan to complete these connections later.
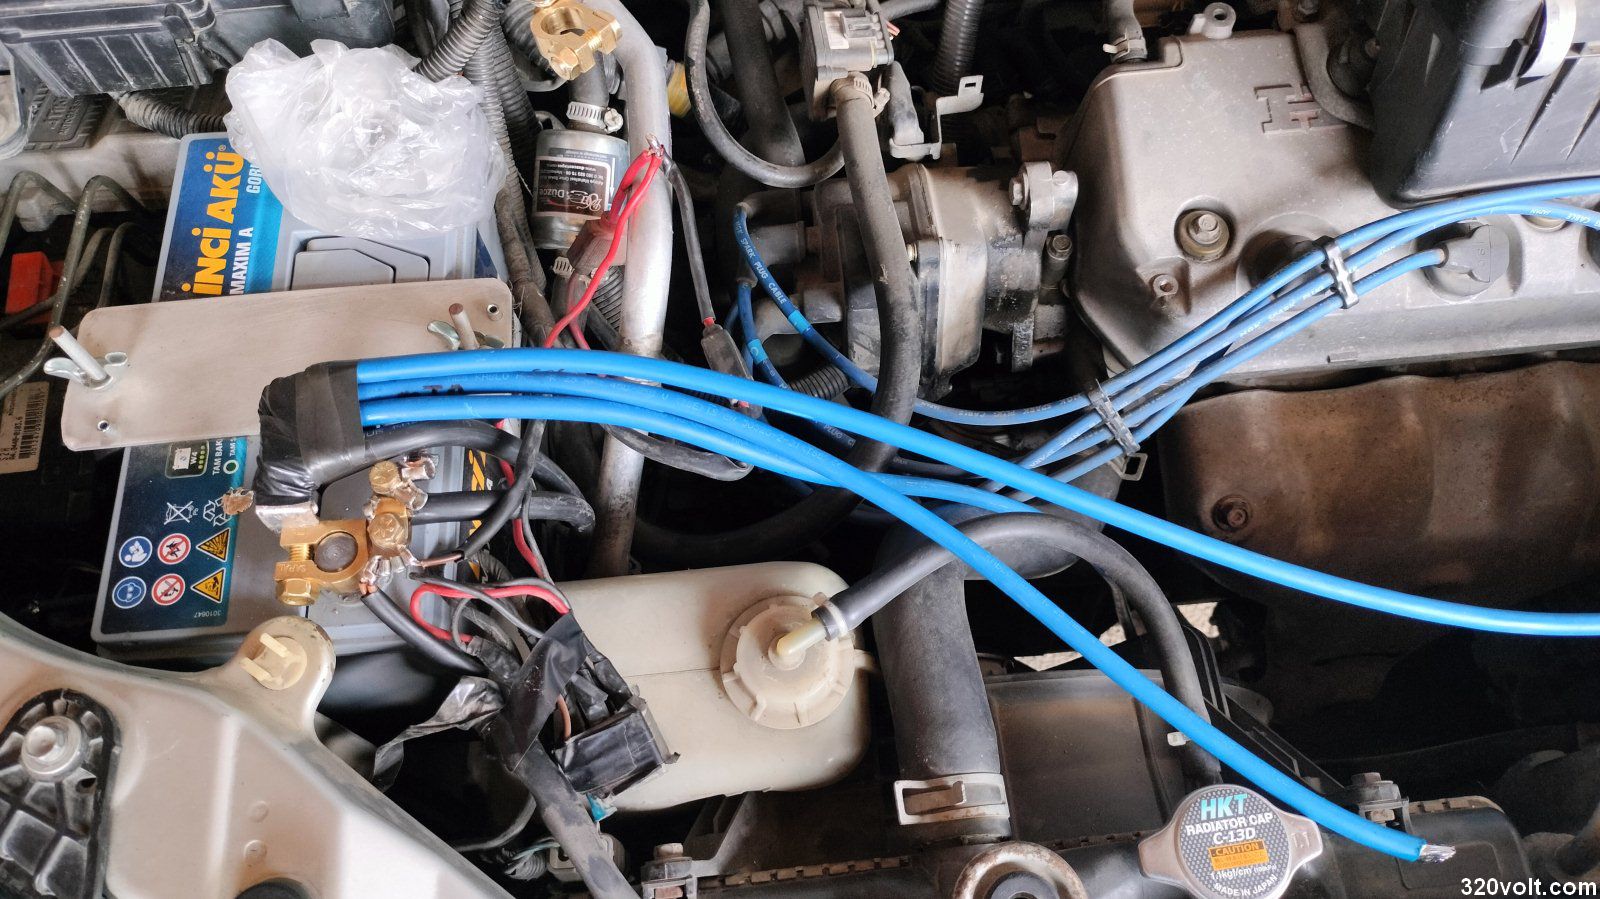
4. Soldering the Engine and Other Connections
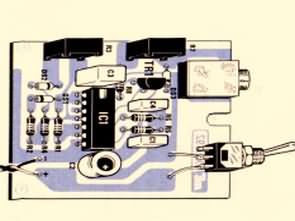
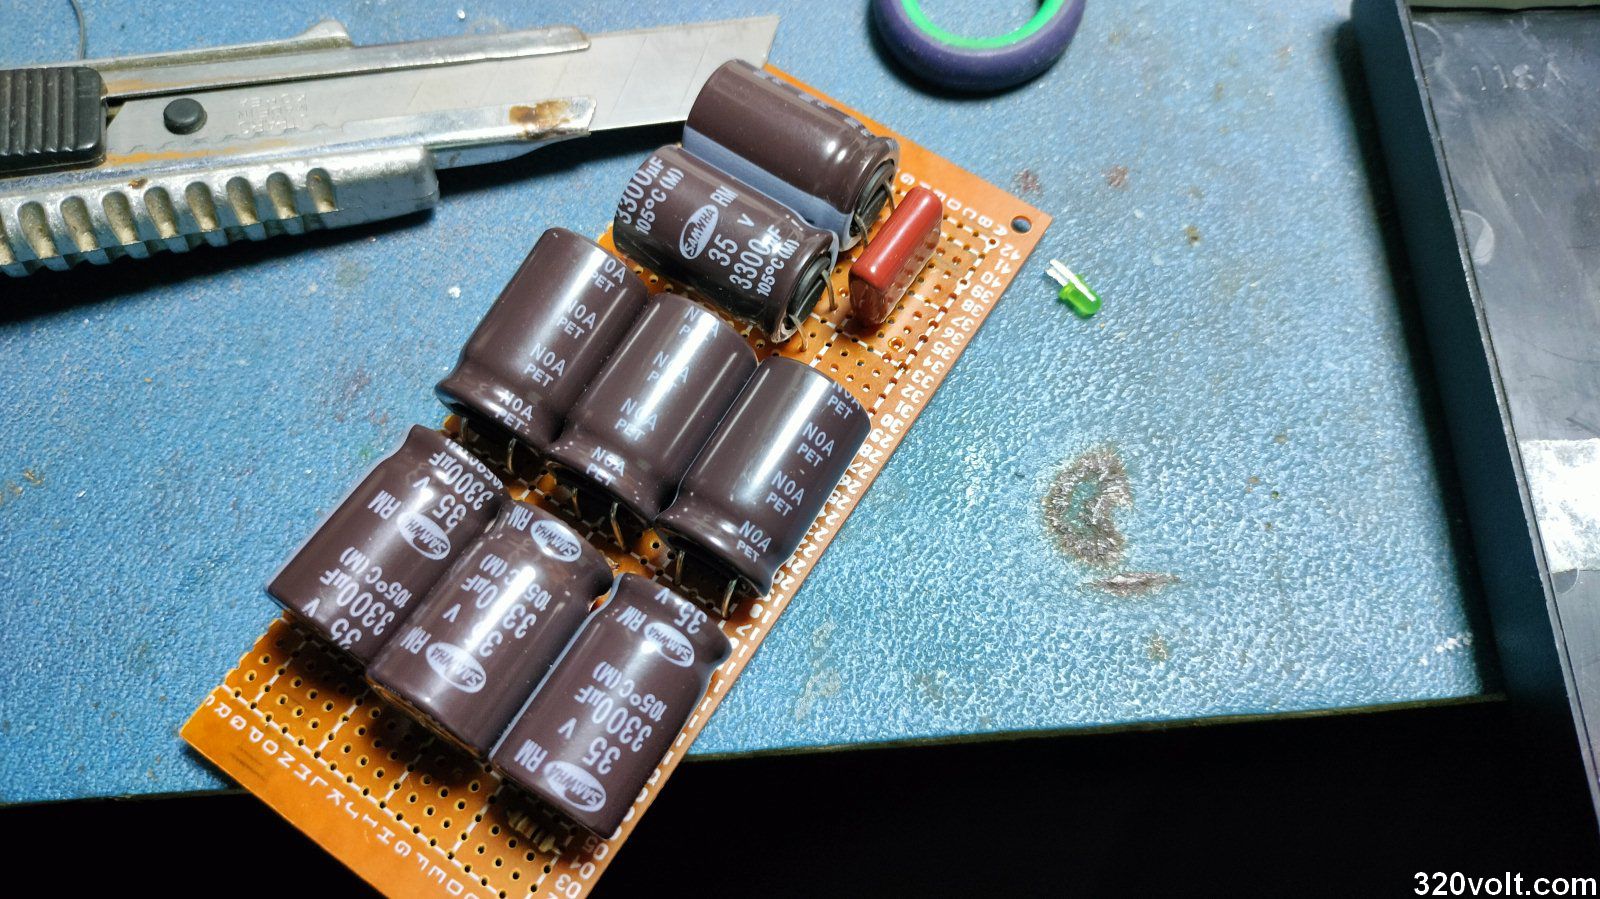
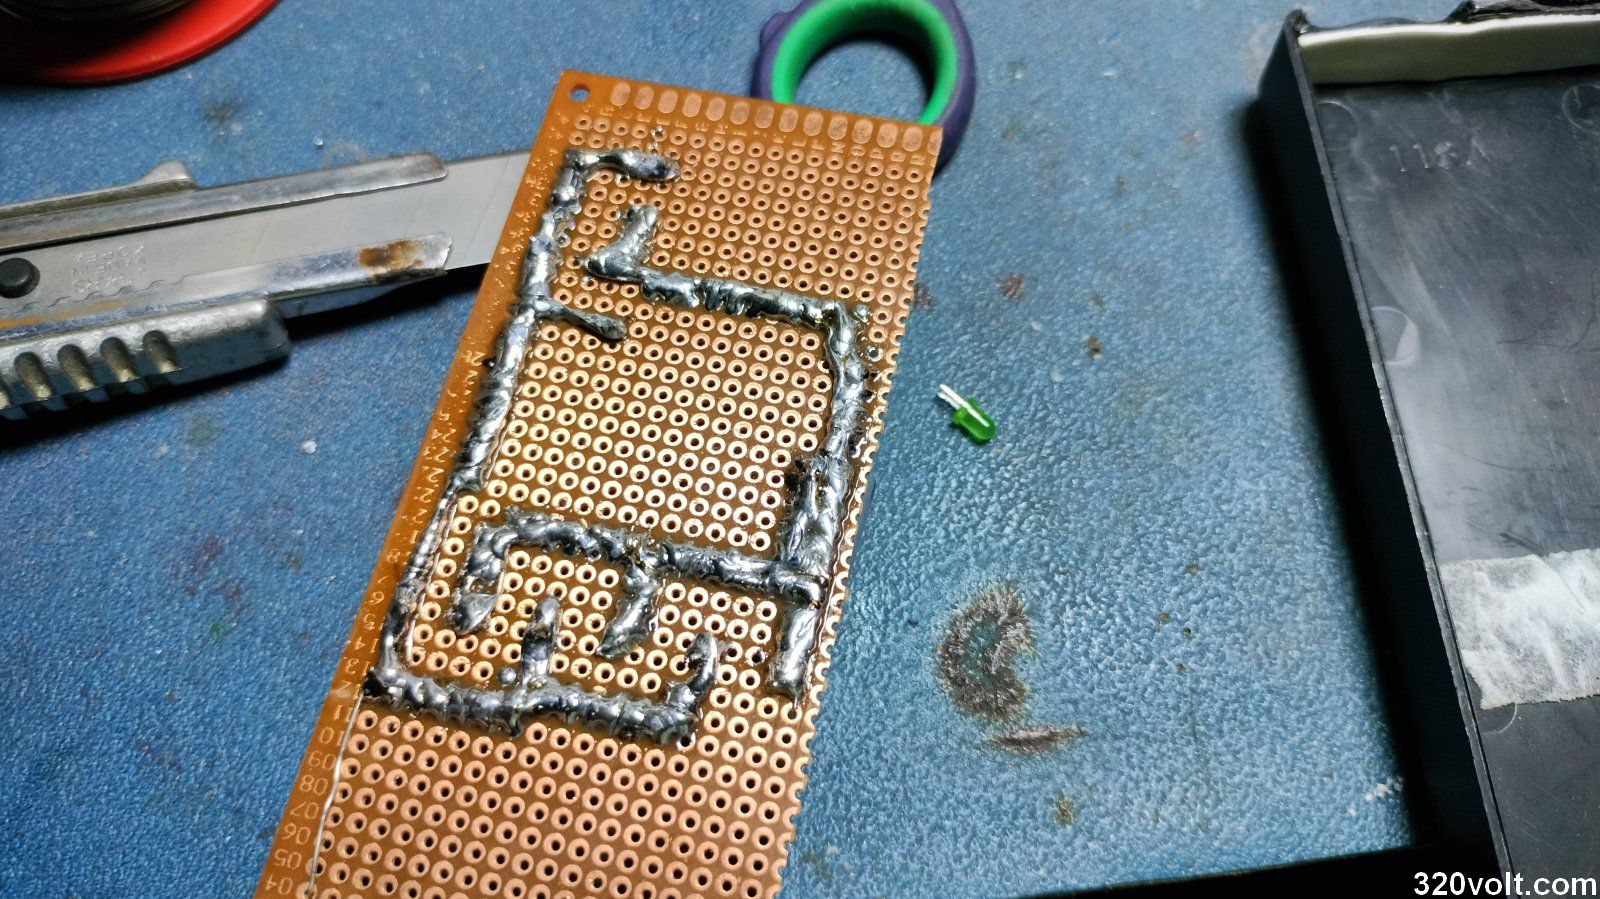
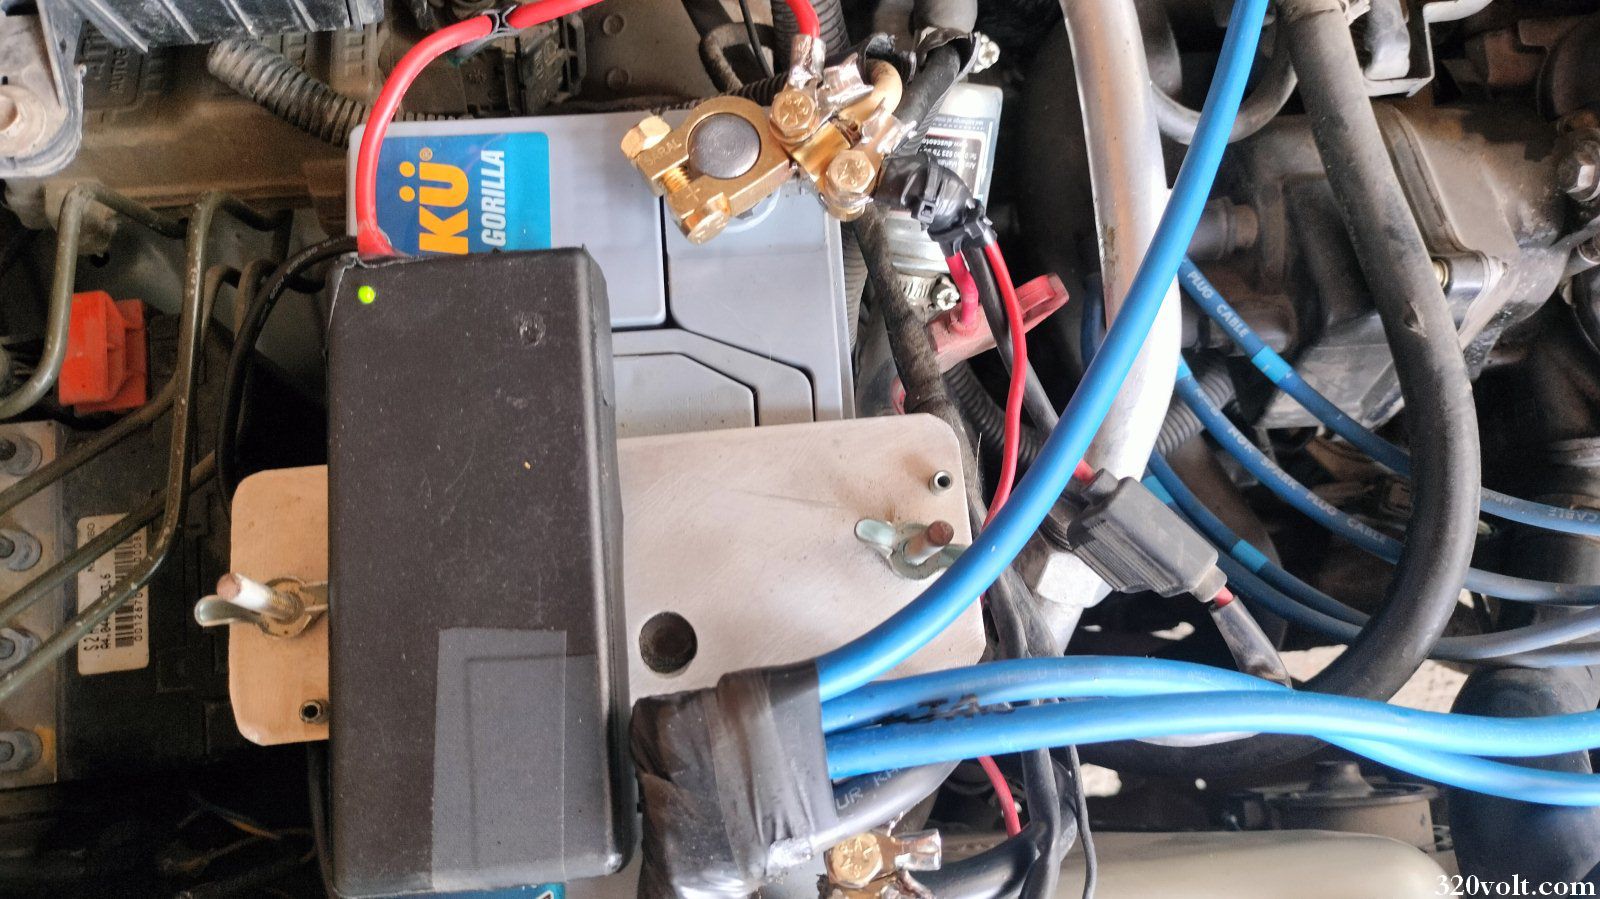
I strengthened the cylinder head, dynamo and all other connections by soldering. Also, since I could not find a suitable box for the Pivot Raizin clone, I redesigned the laptop adapter box.
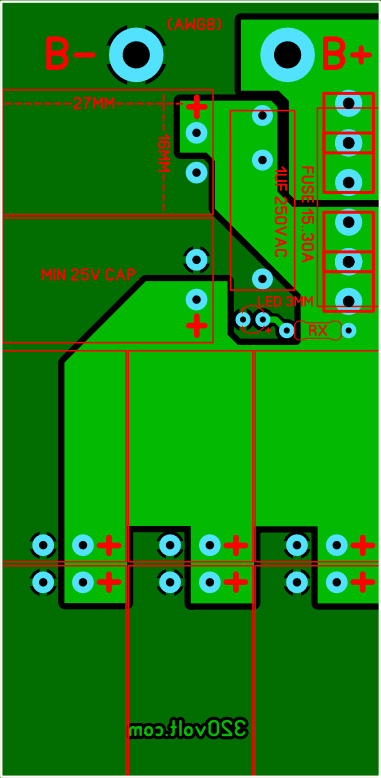
Instead of dealing with PCB printing, I reinforced the paths with thick wires by mounting them on a perforated plate. Finally, I had to add the fuse to the cable. Finally, I placed another laptop adapter box on the positive pole of the battery and tied it with a cable tie
Note: All soldered parts were thoroughly cleaned with isopropyl alcohol before screwing. Solder, flux, etc. residues can weaken the conduction.


The changes observed in my vehicle after the additional grounding process are as follows:
The vehicle started faster, the vibration is less, the engine is calmer when I idle, and it also seems faster, maybe it is psychological 🙂 but there was a decrease in the light level of the dashboard when opening and closing the windows. This problem has completely disappeared. This situation is not a psychological effect since it is something I constantly observe 🙂 and it shows that there is a problem in the grounding transmission, and that it is solved with the additional grounding.
BIG 3 CAR GROUNDING Big triple upgrade
Finally, one more study on this subject.. Let me talk about the “Big 3” system that I learned about with the notification of our reader @Yılmaz Hocam (Thank you). I think its foundations are much older than the system I applied.
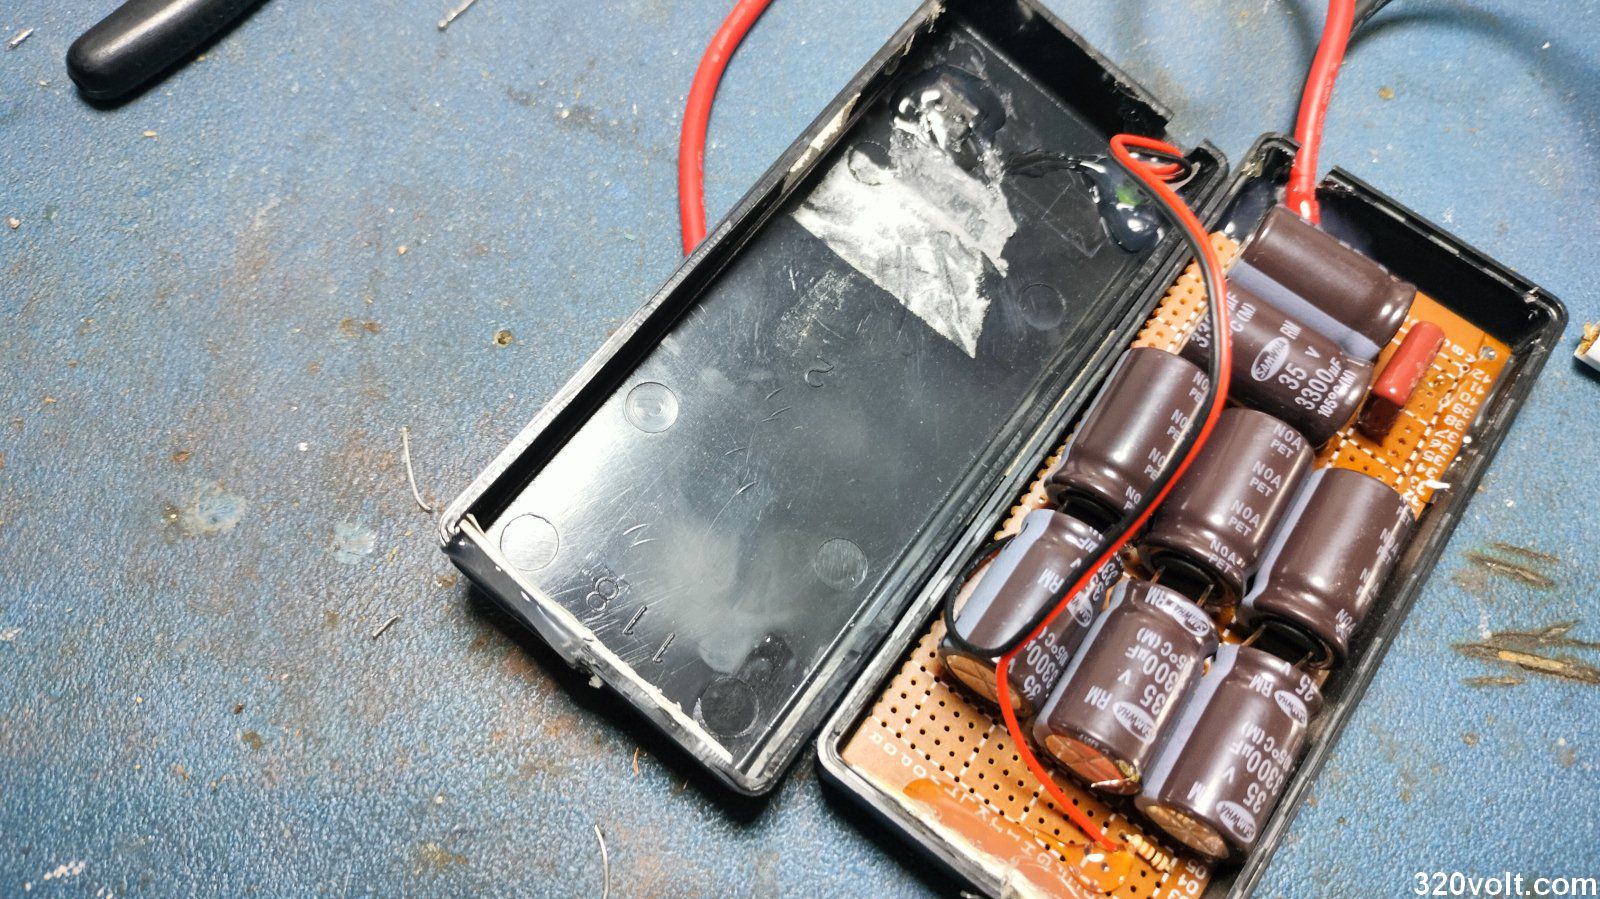
A system designed for high-power car audio system users, 3 cable connections are made, but the cables are huge and very thick. 2 chassis and 1 positive positive cable are used, and some manufacturers also recommend a very large capacity capacitor.
KICKER Brand even has an article about BIG 3. It recommends this upgrade for a car audio system with 1000 watts or more power.
Pivot Raizin clone PCB file;