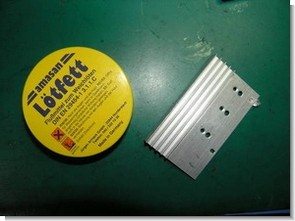
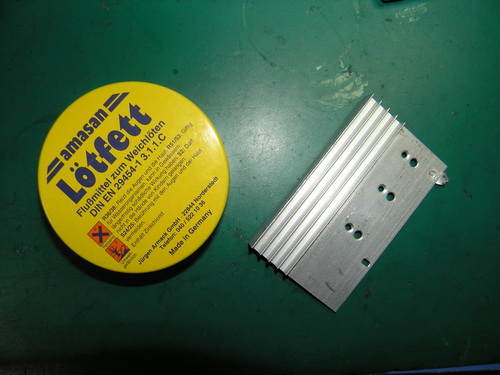
First of all, a different soldering technique that I saw during the repair of my master during my apprenticeship was a piece of grease oil on the aluminum with a soldering iron to scrape hard back and forth.
Our workshop was very rich, there were a lot of strange materials and equipment, including grease and sometimes we had to do strange things, mechanical work, cutting, fitting, etc.
This method has rarely worked for me after years, I use solder paste instead of oil (lötfett) the important thing is to disconnect the surface to be soldered with air To prevent oxidation, many substances can be used for this and the stronger your soldering iron, the better results you will get 30.. With 40w soldering irons, very difficult, maybe very small, thin parts can be soldered.
An experiment with 60 Watt Soldering Iron and Lötfett Pasta
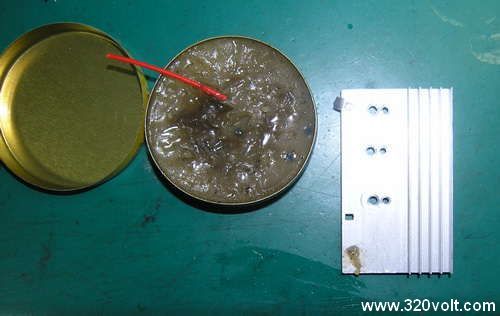
A good result with the equipment I have in a short time, now a more professional method I read in Elo Elektronik magazine
Grease is applied on the aluminum, a scratch is made from the bottom of the oil with a knife, one or two scratches are enough. Since the oil layer prevents air passage, no oxide layer is formed on the inside exposed with the scratch, then molten resin is dripped onto the oil-coated surface with a soldering iron, the oil layer evaporates and the surface remains covered with resin. then soldering process is started, at least 100 watt soldering iron should be used
Published: 2009/01/05 Tags: interesting projects electronics
6N135 Isolated Unipolar Stepper Motor Driver Circuit
Computer’s parallel port using the stepper motor for controlling a circuit data inputs 6N135 opto Kubla’s made out so that the parallel LPT port and is protected two motors can be controlled per channel 5 amp power can give a total of 10 amps have the power to drive MOSFETs and 8 pcs IRF540 control IC CD4094B