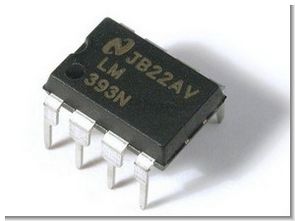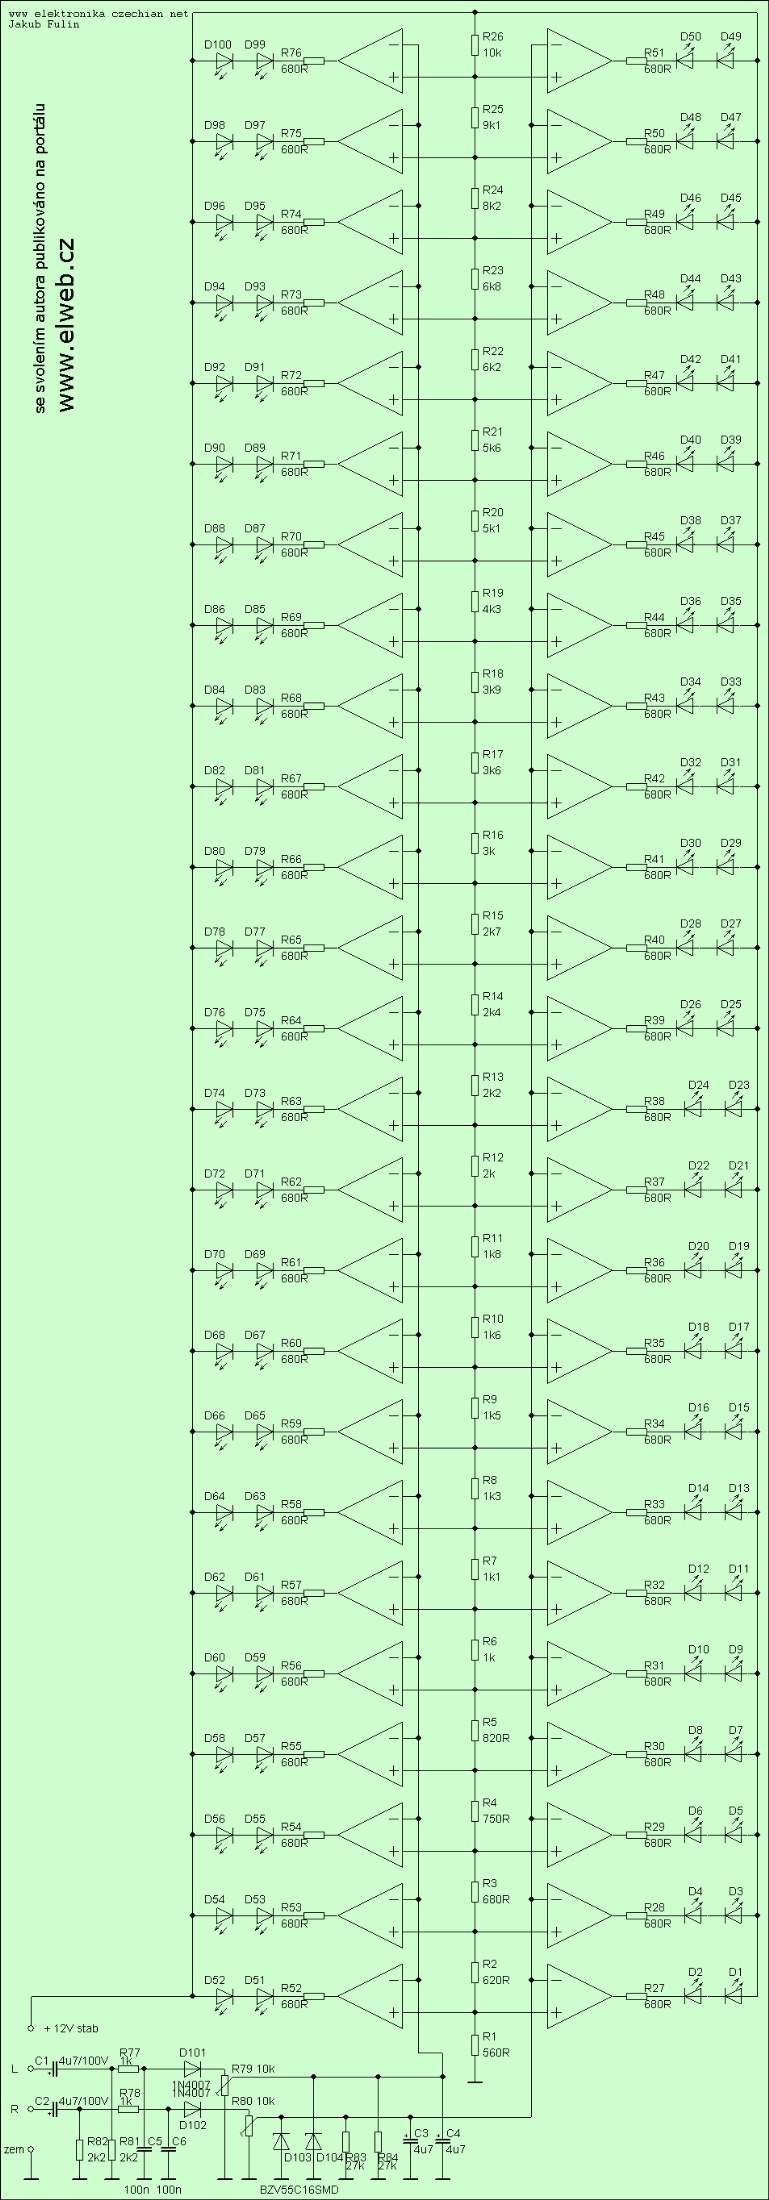
In the 100 LED Vu meter circuit, 12 LM339 and 1 LM393 opamp are used, 50 LEDs per channel, a total of 100 LEDs. All parts of the VU meter circuit are commercially available PCB drawing is available. The input signal is first separated by capacitor C1 (C2). R77 (R78) and C5 (C6) form a low pass filter that filters out the high frequency signal.
Also, the signal is unidirectionally rectified using D101 (D102). R81 (R82) determines the input resistance to 2k2. The rectified signal is adjusted with the potentiometer R79 (R80), which also adjusts the input sensitivity.

From the divider, the signal is connected to the inverter inputs of the comparators. After the disconnector, there is the shield ZD D104 (D103), which protects the device from a large input signal when R79 (R80) is set incorrectly, and a capacitor C4 (C3) that allows even short peaks to be displayed.
R84 (R83) allows C4 (C3) to discharge. Open collector LM339 and LM393 are used as comparators. If there is a voltage greater than (-) at the inverting input than the non-inverting (+), the output connected to the negative pole is energized.
The non-inverting inputs are connected with voltage from the resistor divider R1 to R26. The divider is to make the indicator more natural. The signal is connected to the inverting inputs.
If there is a greater voltage at the inverting input than the non-inverting input, the output of the comparator is connected to the negative terminal of the supply and the LED lights up. Resistors R27 – R76 limit the LED current to 11mA. The entire gauge is powered from a stabilized 12V-1.5A source.
100 Led Vu meters Technical data
Supply voltage: 12VDC
Consumption: 10mA to 1.2A
Input resistance: 2.2 kOhm
Dimensions: 292 x 36 mm

VU Meter Settings
It is the R79 (R80) potentiometer that adjusts the sensitivity. We adjust the potentiometer with the slider so that the resistance between ground and the output (slider) is zero. Then we connect the indicator to the amplifier, which we drive to its maximum output power (preferably a sine wave signal, with a frequency of 1kHz). The indicator will be adjusted with the potentiometer R79 (R80) so that all LEDs are lit.
Notes and modifications: The designed indicator is actually a voltage indicator. Therefore, if we want to use it as a performance indicator, we need to know the impedance of the speaker box connected to the amplifier. Power can already be calculated from voltage and impedance, thus creating a numerical scale for the indicator.
The most common speaker impedances are 4 and 8 Ohms. If we connect different speakers to the amplifier, then for the indicator it is worth making two scales, one for 4 and the other for 8 Ohms. We calculate the power according to the formula: P=U2/R where P is the power and R is the impedance of the speaker or loudspeaker.
If we set the indicator to the highest sensitivity, a voltage of about 11.4V is required for full excitation. From the formula, we calculate that for full excitation, 16.3 W is required for an 8 Ohm load and 32.5 W for a 4 Ohm load.
The indicator can also be adjusted for smaller outputs by increasing R26, but at the cost of a slight deterioration in accuracy. It would be more advantageous to use a simple preamplifier. Thus, the output voltage reaches 11.4V. With a preamplifier, the indicator can be used not only to indicate power, but also to indicate excitation.
It would also be convenient to place the ZD between R25, R26 and ground, which changes the input sensitivity depending on the voltage chosen by the ZD and reduces the dependence of the sensitivity on the supply voltage.
VU Meter PCB : All wiring is on a single-sided printed circuit board. The PCB is equipped with both conventional and terminalless SMD components. Selected the largest commonly available SMD size (1206) for easier installation. With a little patience, even those without SMD experience can install the card. All the components used are widely available at any electronics store.
Source: http://www.elweb.cz/clanky.php?clanek=100 VU-Meter Circuit 100-LED schematic PCB alternative link:
Şifre-Pass: 320volt.com
Publication date: 2008/05/17 Tags: audio control circuits, led projects
Electronic Load Circuit
Particularly in power electronics, power supply load a simple electronic circuit that can be used in the test system based on b761 op amp, 0.1 ohm resistor is connected to the emitter of the power transistor is spent on how much power will be dissipated power is adjusted with potentiometer 1k