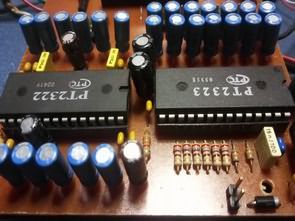
5.1 Control board project for sound system. Remote control, LCD, Encoder. I have almost no application with Arduino, I always tried to use Arduino alternatives and somehow found circuit solutions. But audio applications always intrigue me. I applied the digital volume control Arduino project made with Arduino Nano PT2323 and PT2322 audio control ICs, the circuit worked very well, and it is very good that it is remote control controlled, in addition, all controls can be made with a button encoder and 2 buttons.
Like me, arduino programming, arduino usage etc. For those who do not have much knowledge, this arduino application can be useful. I explained all the processes from start to finish, and in the meantime, tricks, details, etc. I tried to mention all of them. For Arduino users, these things are tedious, but for those who do not know, it is challenging and difficult 🙂
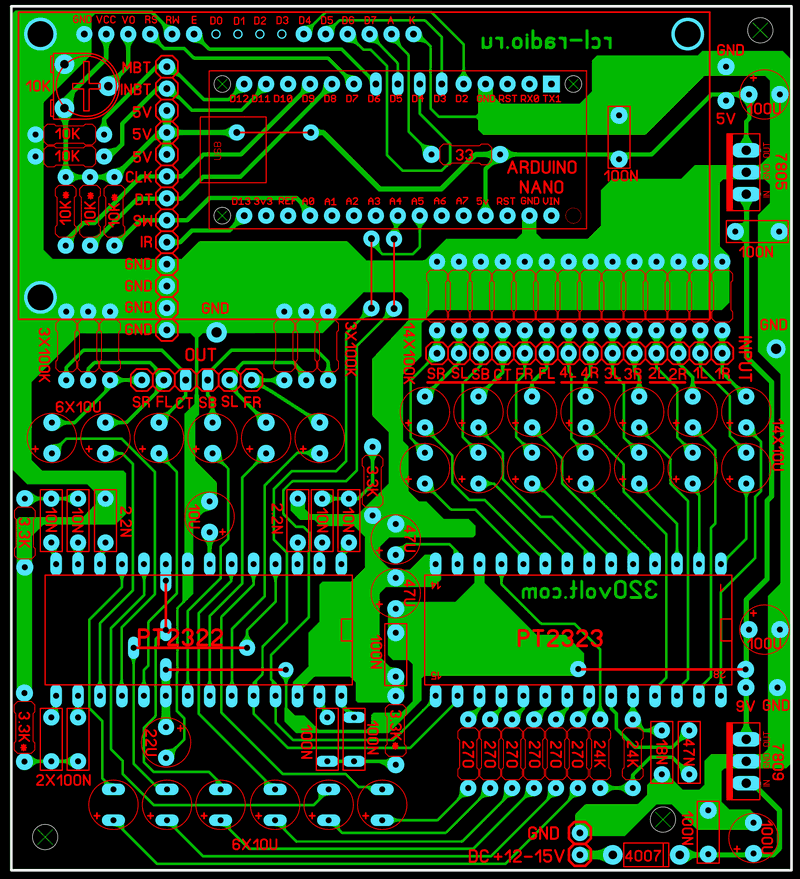
It’s a bit of a long video, but someone who has never used an arduino and is a hobbyist with electronics can edit the software, load it and set up the circuit. PT2323 I prepared the PCB design of the PT2322 Arduino Nano 5.1 Audio control circuit with Sprint Layout 6, the dimensions are quite small, 90.3x 100mm and I am making a single-layer PCB at home 🙂 In addition, only ATmega328p microcontroller without arduino module I also made a PCB design based on it, but I did not test it.
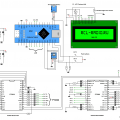
5.1 Audio Control Circuit Diagram PCB
About PT2323 and PT2322
PT2323: It is a 6 Channel Sound Selector IC that uses CMOS Technology specially designed for 5.1 Audio systems. It provides a built-in 2-Channel to 6-Channel translation that can mix directly. A stereo channel can be used to simulate a 6-Channel audio output. Besides the I2C Bus Interface, it has a very low harmonic distortion rate (THD < 0.005) PT2322: It is a 6 Channel Audio processor integrated using CMOS Technology specially designed for 5.1 Audio systems. 6-channel master volume control, 6-channel separate volume trim control, 3-band tone control (treble, mid and bass), mute function, 3D effect function, the highest performance and reliability features are built into one integrated.
You can connect 5.1 Amp Circuit to the output of the circuit and use it. For the bass output, a higher power amplifier circuit is required compared to the other channels. In the past, in cheap 5.1 sound systems, 2 TDA2030 bridge connections were used for the subwoofer, and a single TDA2030 was used for the other outputs. The logitech z5500 model, known as quality, had a TDA7294 single channel amp with a bridge connection for bass TDA7294 on each of the other channels. Since the SB, that is, the subwoofer output of the 5+1 audio control circuit, is filtered, you do not need to add a filter to the bass amplifier, it is enough for the speaker and cabinet to be compatible for bass sounds.
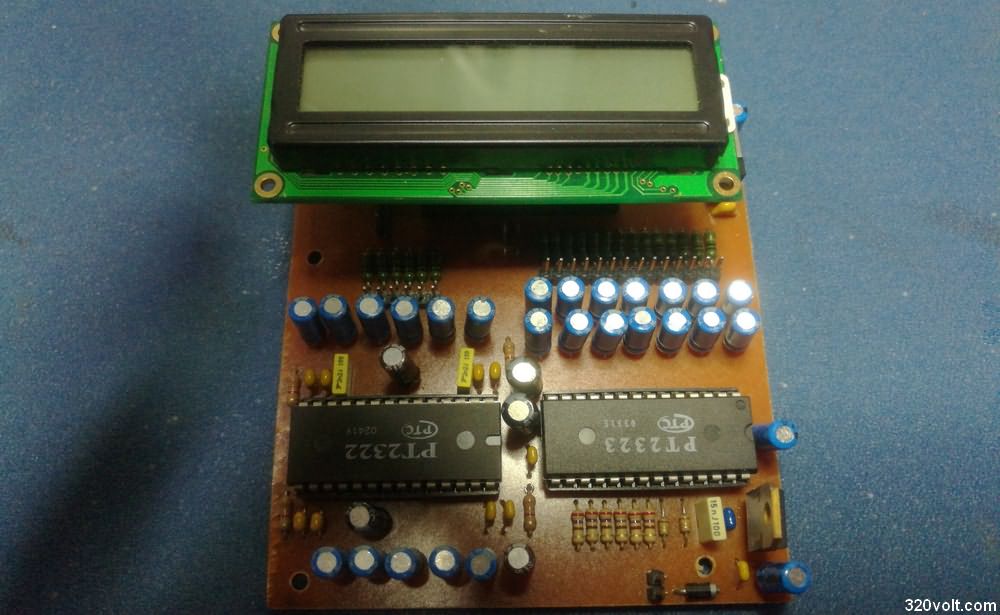
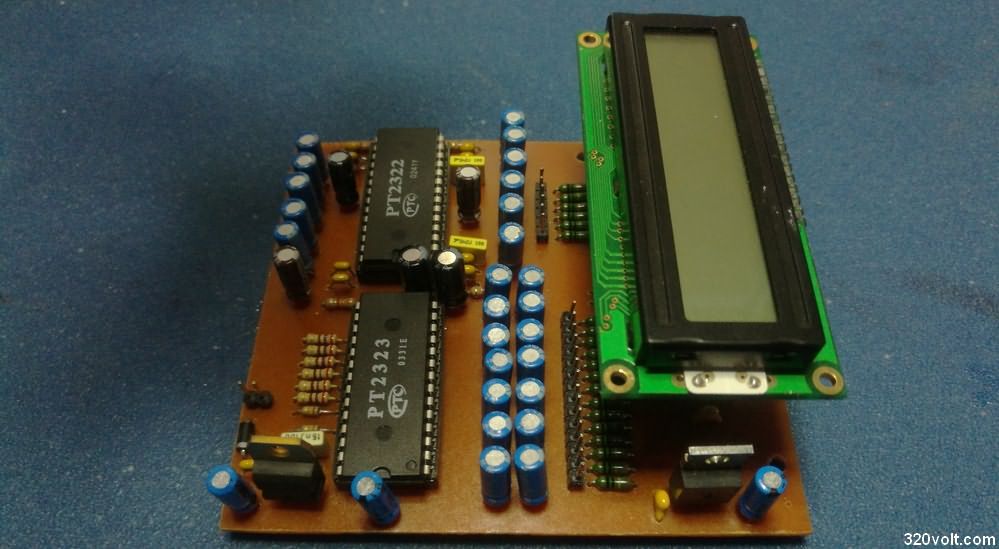
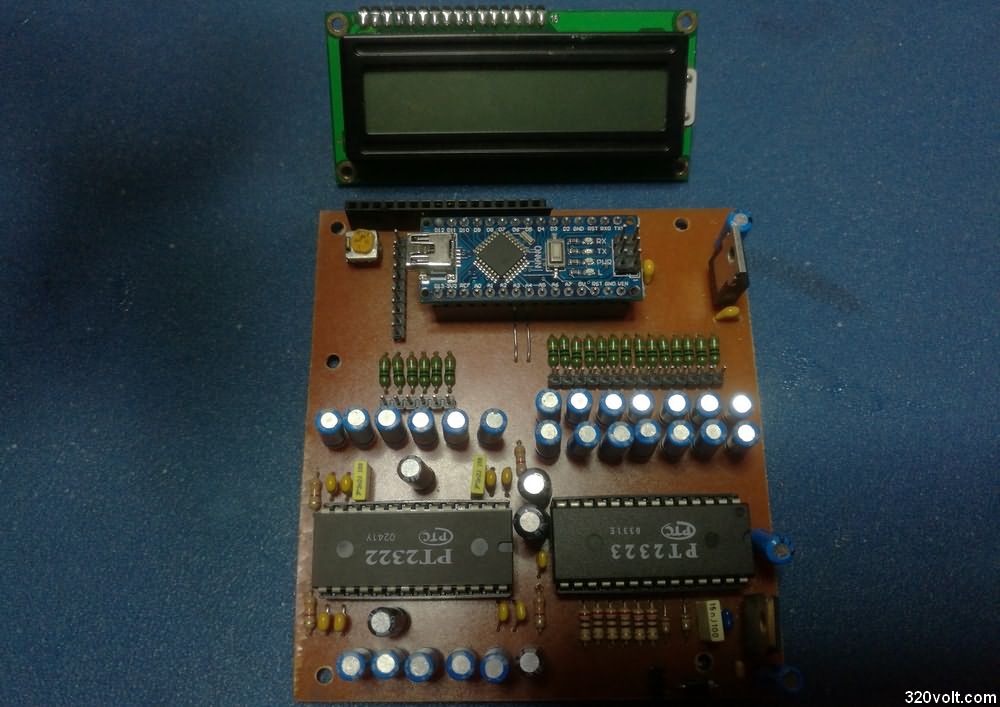
The project was shared at rcl-radio.ru/?p=62504, the administrator of the site @liman324 helped me a lot. I completed the project. Thanks @liman324
PCB, schematic and code files of Arduino PT2322 PT2323 5.1 sound system project and CH34x v3.4 driver;
Şifre-Pass: 320volt.com
Publication date: 2022/10/27 Tags: arduino projects, audio control circuits, microcontroller projects
Hello, I have finished this project but the output is not coming . it only outputs strange High frequency noise.the master volume is working . but its just increasing and decreasing the unwanted noise. I have followed everything you mentioned in the PCB Layout. I’m testing ATmega328p Version which functionality is mayb okey (tested) .
Hello,
Submit the top and bottom pictures of the circuit.
The 5.1 Control Board project for sound systems utilizing Arduino is an impressive solution for audio enthusiasts and hobbyists. The inclusion of a remote control, LCD display, and an encoder for controls adds convenience and functionality. The creator’s approach of providing detailed explanations and mentioning tricks and details throughout the process makes it accessible to those with limited Arduino knowledge. Although the video may be a bit lengthy, it offers step-by-step guidance for beginners to edit the software, load it, and set up the circuit. The compact PCB design using Sprint Layout 6 and the option of a single-layer PCB further enhance its appeal. Overall, this project is a valuable resource for individuals looking to explore Arduino in audio applications. You must also check out Pcbloop.com it has some great insights too.
here one major issues found in code that, as per the documentation of PT2322 and as my experiance on the same, the ic will not function properly while we apply master volume ten and unit values this way.
https://ibb.co/wLdqB03