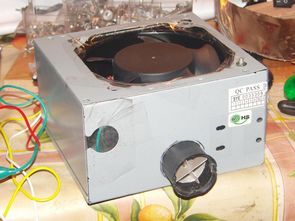
Dizüstü Bilgisayar İçin 19V 4.7A DCDC Konvertör yazısında EI33 trafonun suda kaynatılarak nüvesinin ayırılmasından bahsetmiştim. Ferit Trafo Nüve Ayırma işlemi için sıcak havada kullanılıyor. Bu iş için basit bir düzenek hazırlanmış..
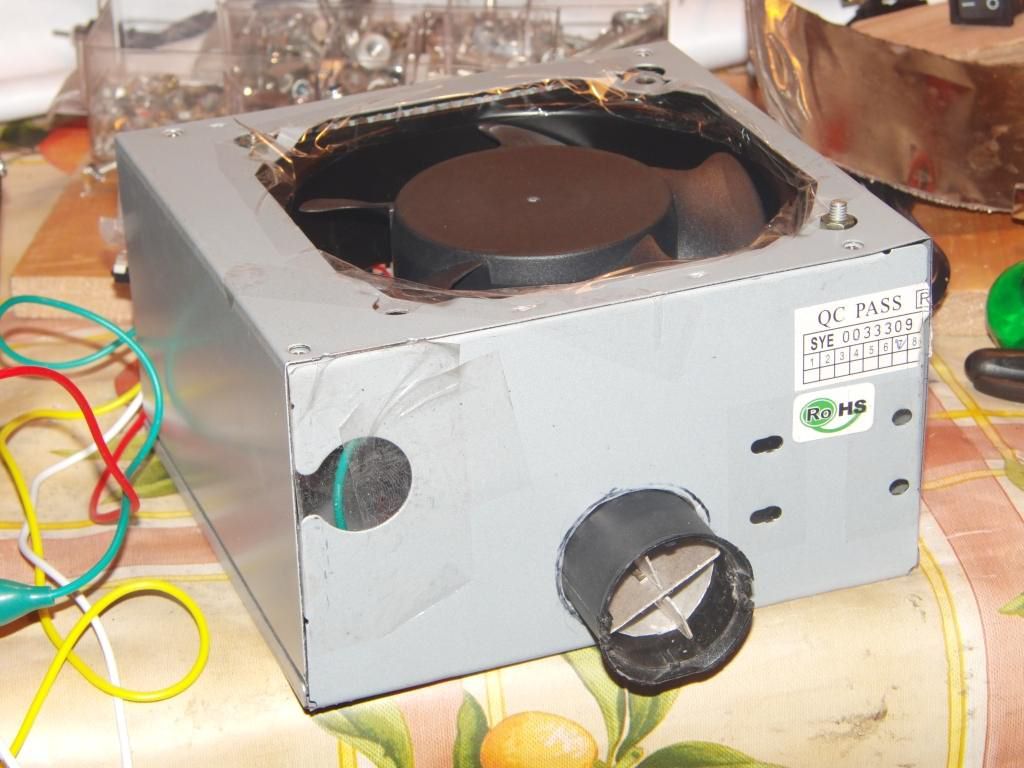
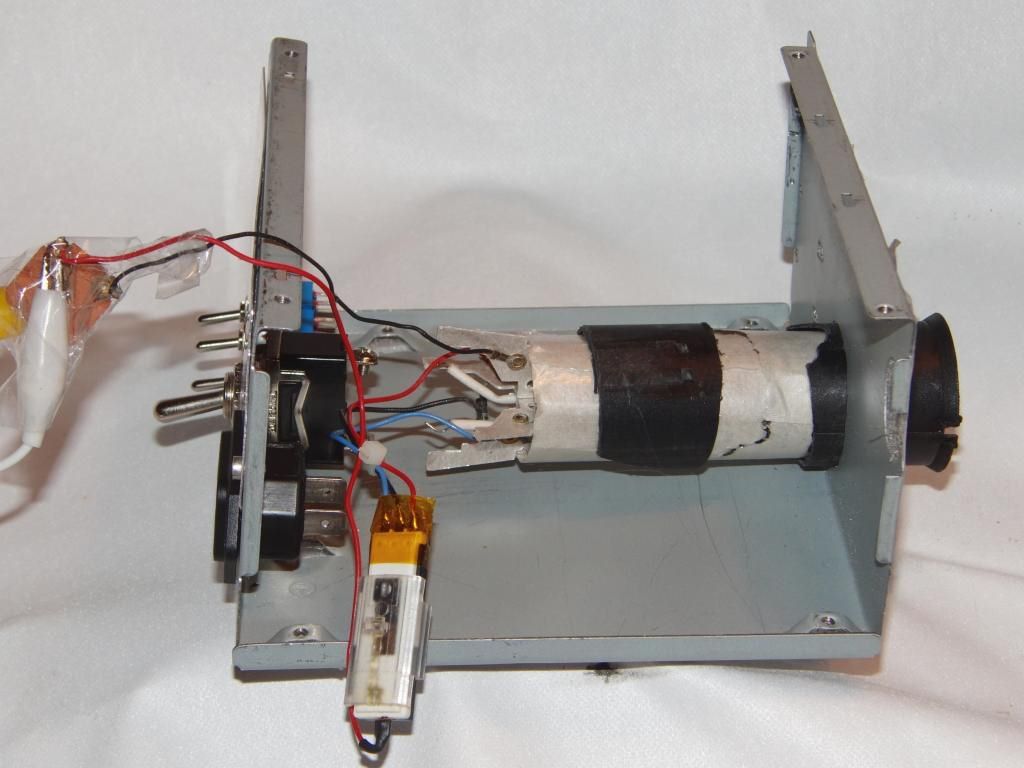
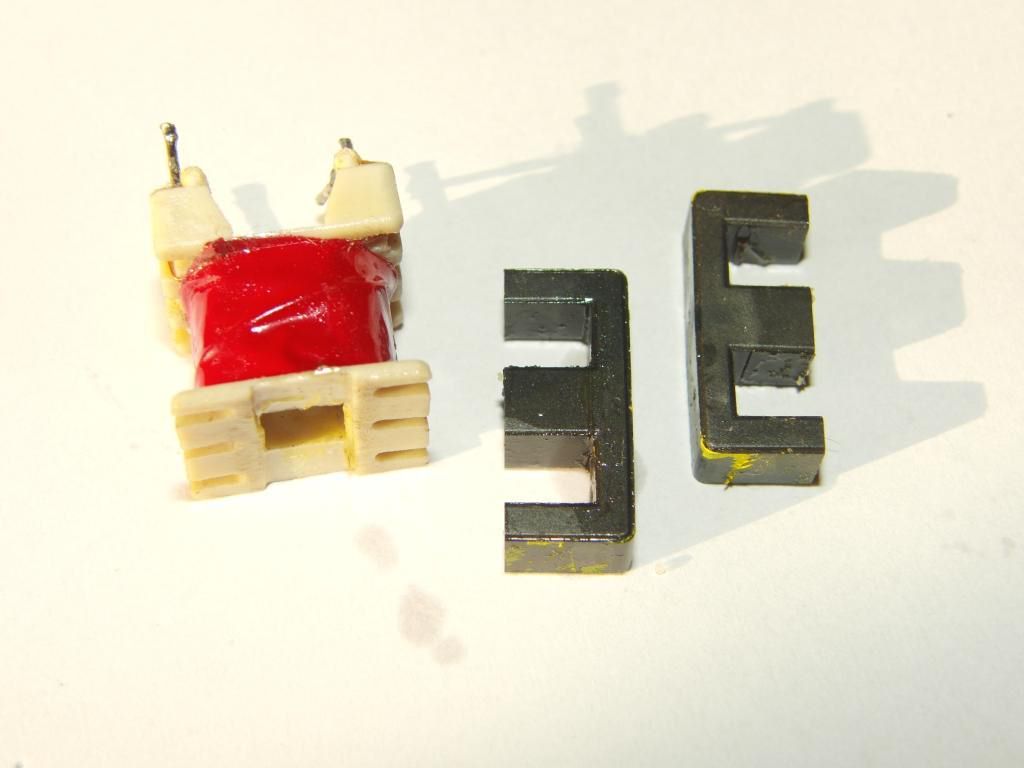
Kutulama için ATX güç kaynağı kullanılmış ısıtıcı için de saç kurutma makinası rezistansı kullanılıyor. Nüveniyi saran bantı çıkartıp Yaklaşık 200 derece sıcaklıkda trafo nüvesini çevirerek ısıtıyor sonra trafoyu üfleme alanından fazla uzaklaştırmadan birleşim noktasından maket bıçağı veya ince uçlu düz turnavida ile hafif zorlayıp nüveyi gevşetiyor biraz daha ısıtıp nüveyi çıkartıyor. Bu işlemlerde kargası pense ile tutarak yapmak iyi olur
Tüm sökme işlemi sıcak hava akışında gerçekleştirildiğinde çalışma çok daha kolay olur. Sıcak hava akımında çalışmak, trafonun manipüle edilirken soğumasını, tekrar sertleşmesini ve nihayetinde çekirdeğin çatlamasını önler
Ferritin ısı iletkenliği biraz zayıftır, bu nedenle sabır gereklidir. İstenen kaynama noktası değerinin ne kadar hızlı yaklaştığını bilmek için yaklaşık çekirdek sıcaklığını ölçmek için bir termokupl probu kullanılabilir.
Ferit nüveler çok kırılgan olduğu için ayırma işleminde çok dikatli olunmalı Çatlamış çekirdekler epoksi ile tekrar yapıştırılabilir, ancak ince bile olsa ek boşluk nedeniyle manyetik özellikleri muhtemelen bozulacaktır.
Kaynak: http://shaddack.twibright.com/projects/hw_HotAirBlower
Salvaging ferrite cores
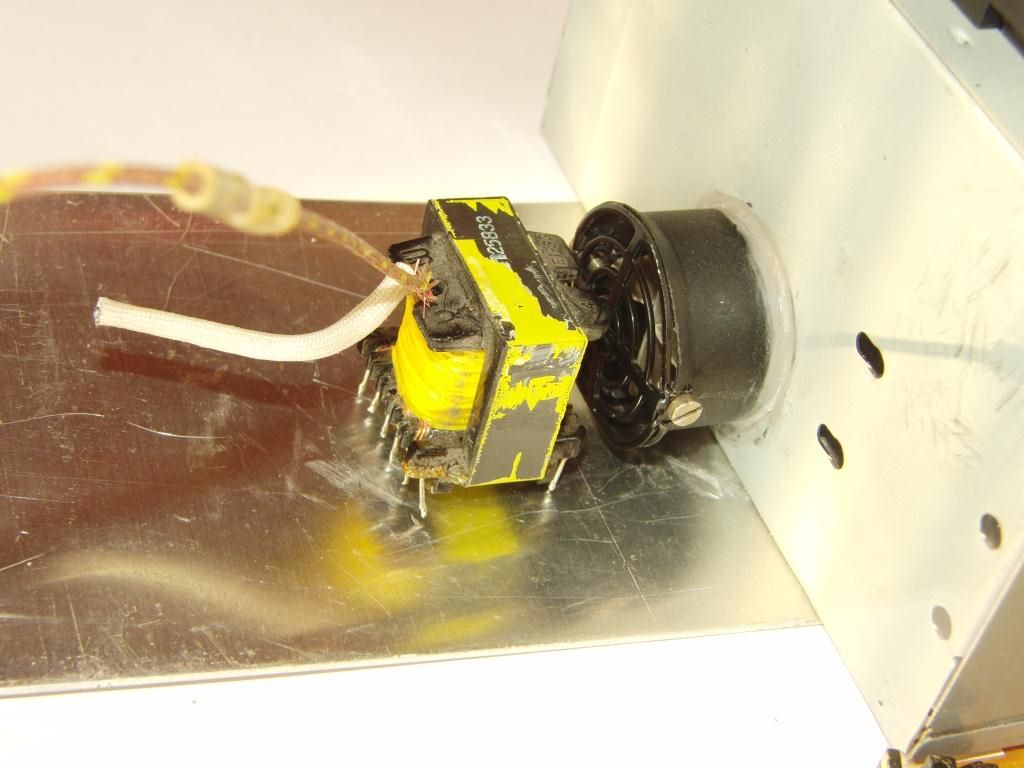
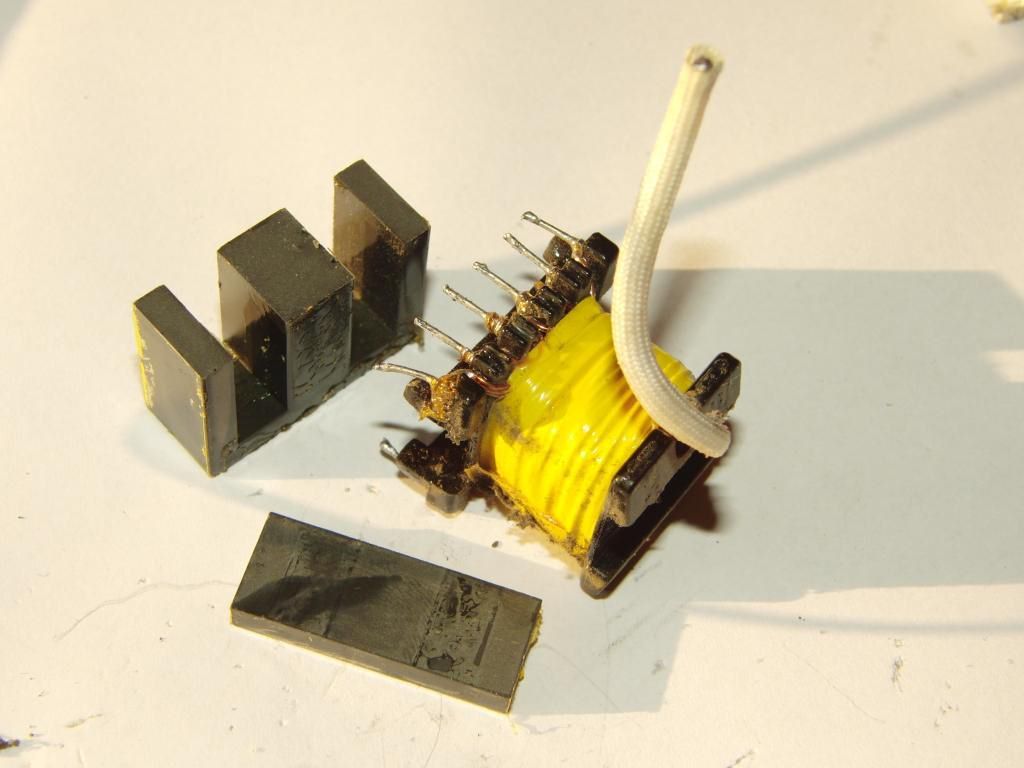
An experiment was tried with the Hot Air Blower. A ferrite transformer, after removal of the sticky tape around the core, was placed in front of its exhaust nozzle and the blower was switched on to full power. The transformer was left to cook in 200 °C air until it was so hot a drop of water sizzled on the ferrite. Then the transformer was removed from the hot air stream and the core was loosened with gentle prying with a small, thin-blade screwdriver. The material that held the bloody thing together really softens when heated up above 100 °C; the core moved slightly in the bobbin and was willing to be pried out. The other half of the core was then pushed out of the bobbin by gentle steady pressure through the bobbin’s hole.
The ferrite’s thermal conductivity is somewhat poor, patience is therefore needed. A thermocouple probe can be used for measuring the approximate core temperature, in order to know how fast it is approaching the desired above-boiling-point value.
The ferrite is also VERY fragile. Especially smaller cores are prone to breaking when not handled with a lot of gentle and loving care. Do not attempt to force the core out when it is not showing signs of willingness; patience and more hot air will do a good job here, like when a politico rides out a government crisis. Otherwise you risk cracking the core.
Cracked cores can be glued back together with epoxy, but their magnetic properties will likely be degraded due to the additional, even if thin, gap in the core.
The work goes much easier when the entire disassembly operation is performed in the hot air stream. When the operator has the hot air source between his body and the transformer, he can hold the transformer in pliers (hold it by the bobbin, then the pliers won’t be likely to crack the core) and gently tweak and pry and teases the core out of the bobbin with a flat screwdriver. Work in hot air stream prevents the transformer from cooling down while being manipulated, hardening again and eventually cracking the core; repeated reheatings are taxing for the patience and it is tempting to just use a bit more force to avoid another waiting cycle.
It is helpful to apply gentle pressure to the core from the side, first make it move inside the bobbin for a fraction of millimeter and unstick the surfaces, and only then, once the initial movement happens, become slowly and carefully lifting the core from the bobbin. Once out, push the lower part from the bobbin by applying a gentle steady pressure through the bobbin’s hole to the middle of the core; this makes it less likely to crack than prying.
In a lab, like in politics, there is often a need for hot air; sometimes for a gentle preheating of something, sometimes for drying paint or other water- or solvent-based substance. A salvaged hairdryer was originally intended to be satisfying. However, it turned out that the airflow is too high (enough to damage more sensitive components or paint layers). More seriously, the noise of the running hairdryer was unbelievably L-O-U-D, resembling a jet engine during takeoff. (Who can ever be comfortable running that next to one’s head?) Therefore it was decided to design a modified hot air source.
The motor with the fan blades was quickly determined to be the root cause of the noise. (Well, duh.) So it was removed and another airflow source was located. A 120×120 mm 220V AC cooling fan was picked up as the best cost/performance option. While still not entirely quiet, it was MANY decibels less and it was actually possible to withstand longer periods of working right next to it without turning mad.
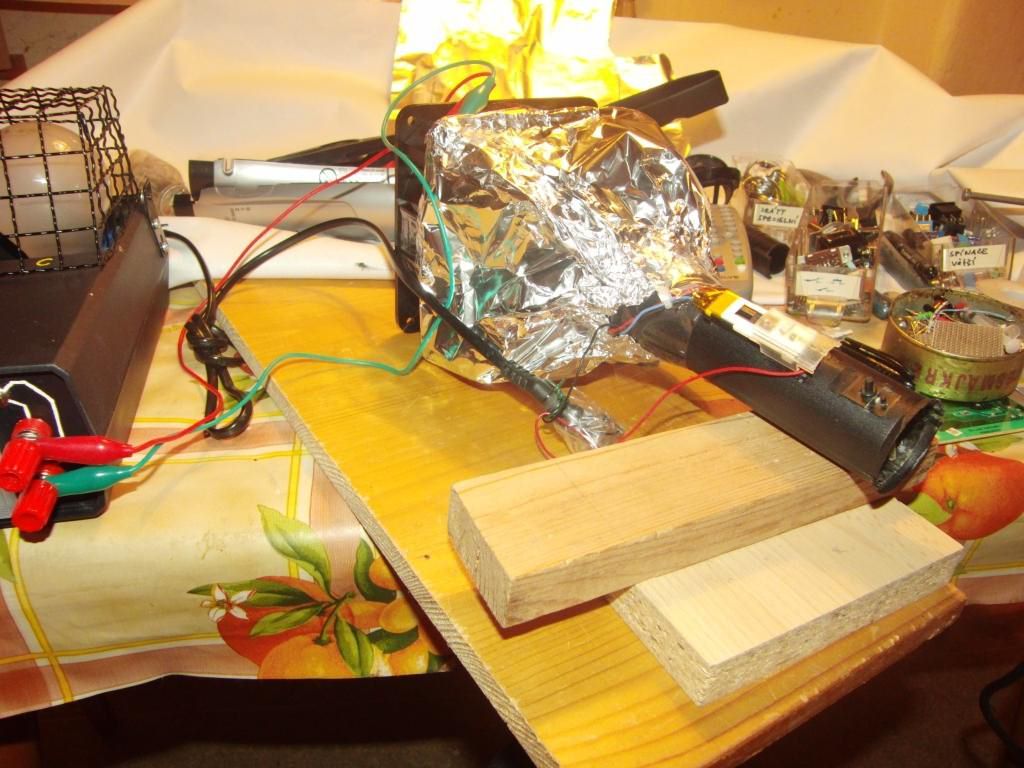
First, to test if the airflow is sufficient for cooling of the heating spirals, a mockup was made, using aluminium foil and sellotape to channel the airflow from the fan through the heater block. The test results were satisfying.
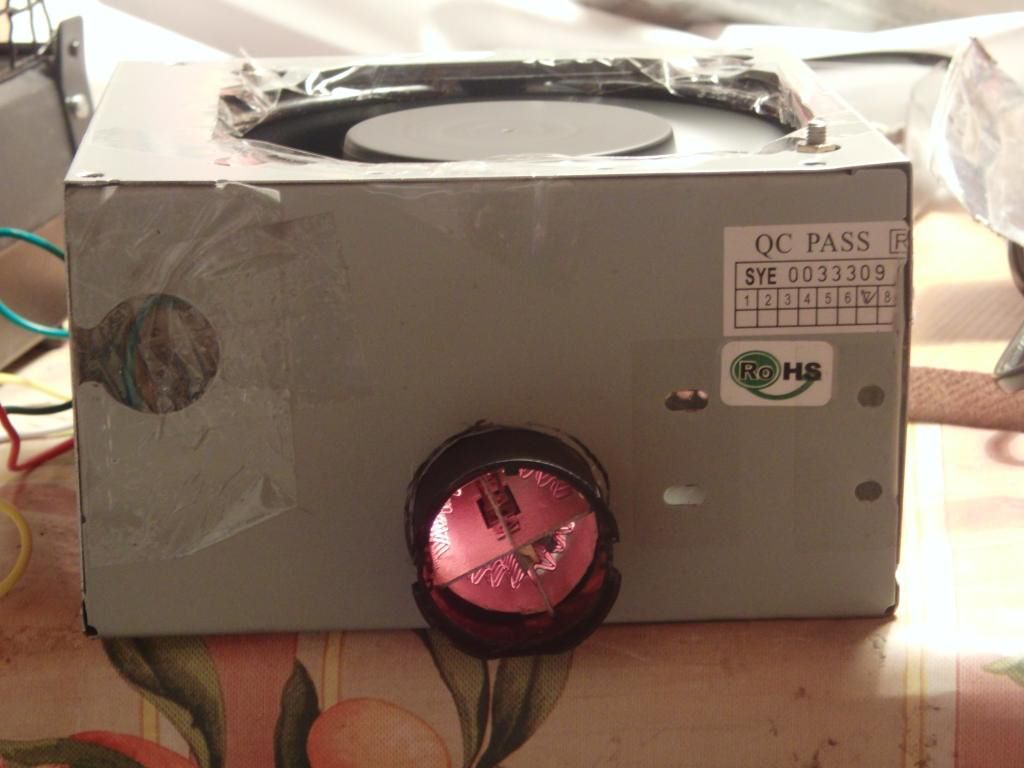
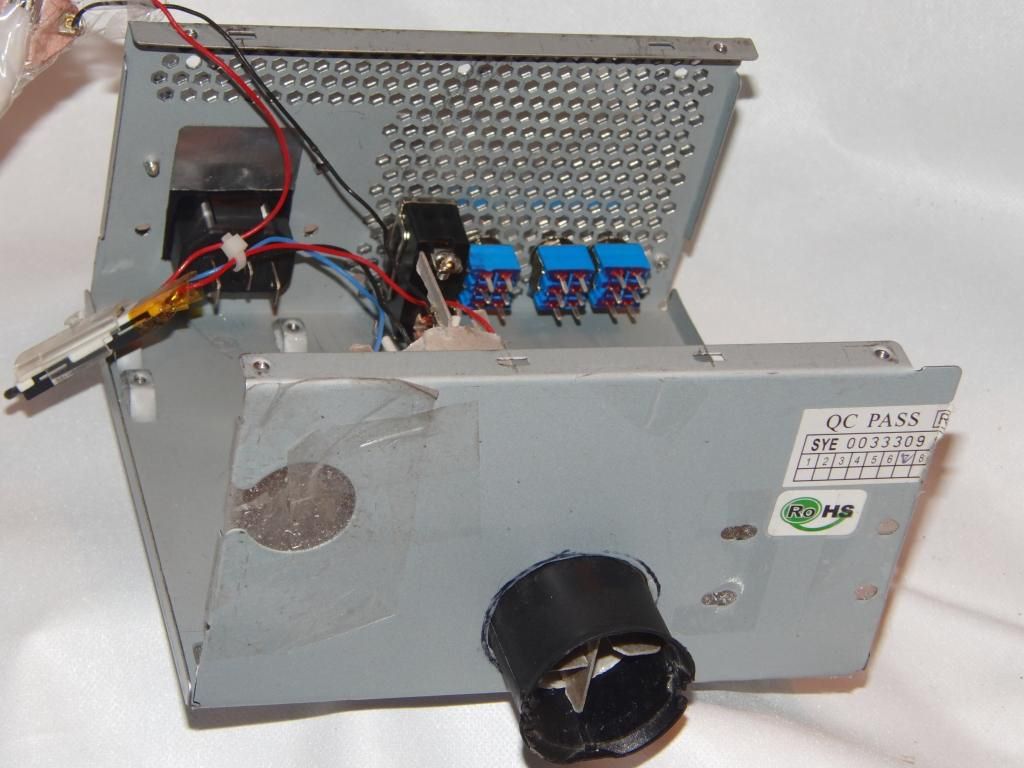
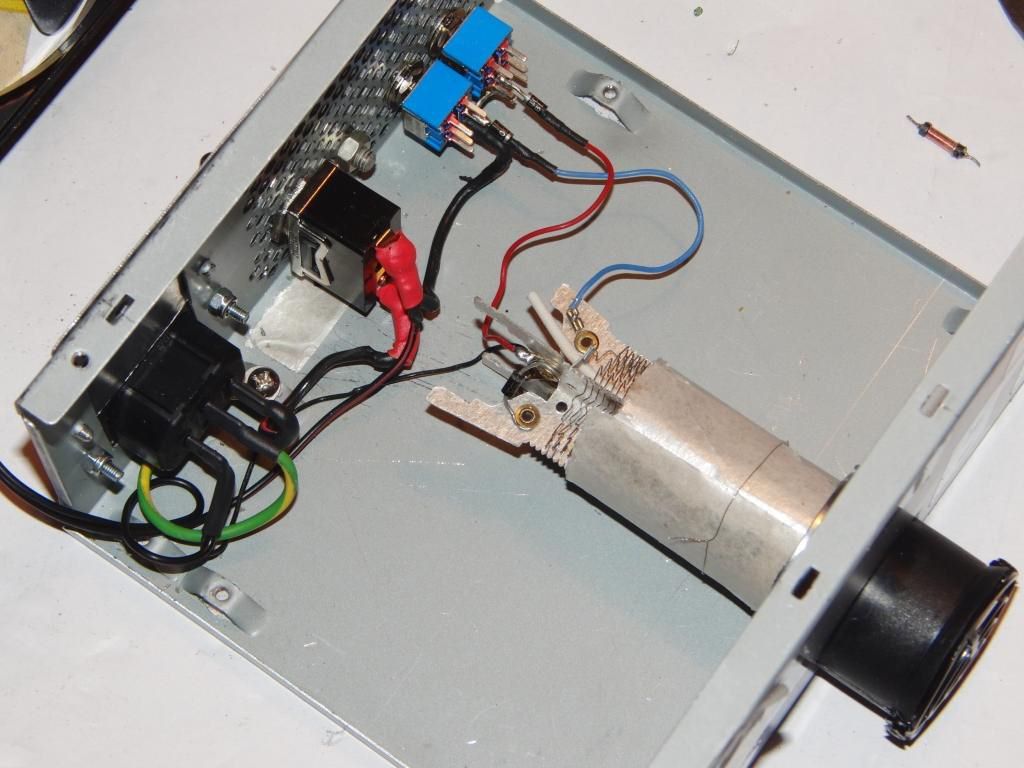
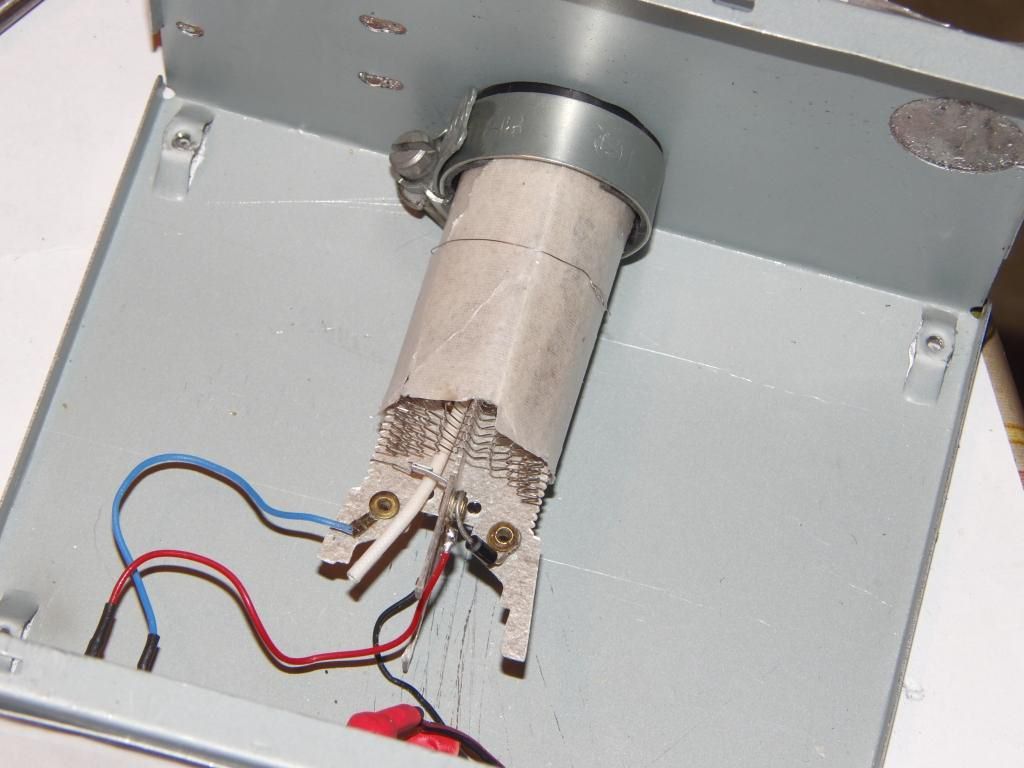
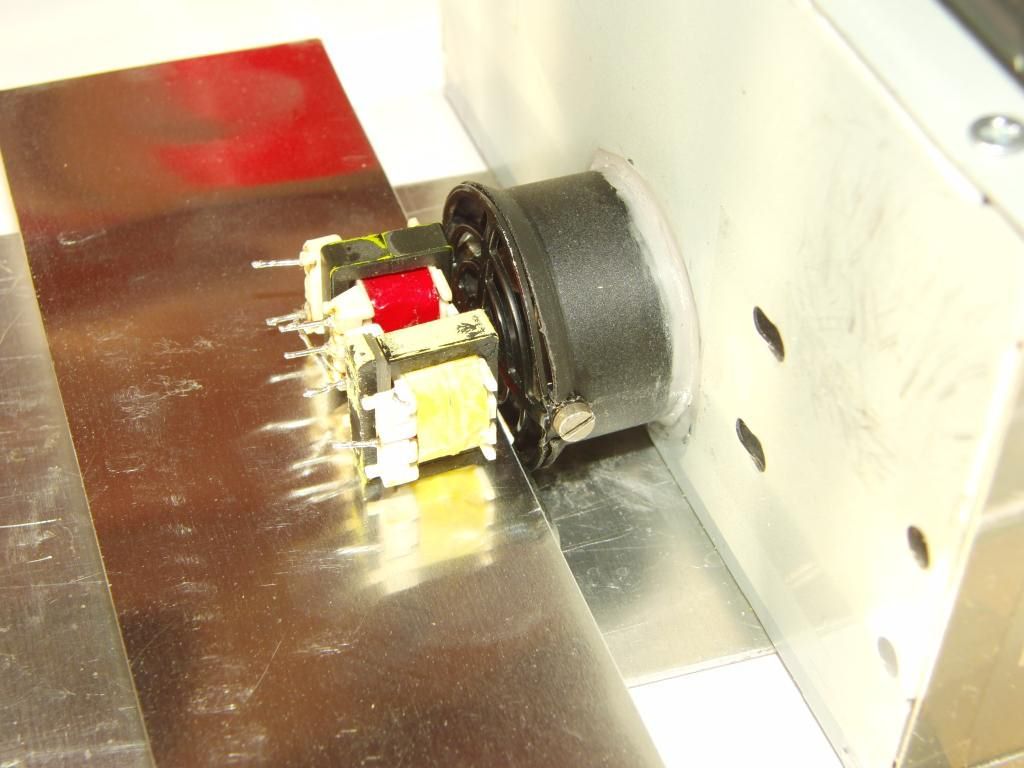
An old ATX power supply case was determined to be the best and easiest option, due to being metal (and therefore fireproof), easily available, and already with a precut hole for the 120 mm fan. The storage compatibility with the Spot Welder was another plus. A hole was cut in its side (by drilling a lot of adjanced holes, then cutting out the disc and filing off the ragged edges, ufff) and the heating element from the hairdryer was affixed in it.
The airflow in the new assembly was a bit lower than expected from the mockup tests. The box was apparently creating more air drag than the aluminium foil structure, increasing the pressure gradient inside and lowering the efficiency of the fan. The impact was however less than critical.
The resistive wire turned out to be more fragile than expected. It was damaged on two more places during handling, and a repair had to be performed. The same approach, brazing with brass and borax, was used as with the original hairdryer repair.
The holes in the casing were covered with sticky tape, in order to channel all the airflow through the heater. The mesh on one of the sides was covered with aluminium sheet.
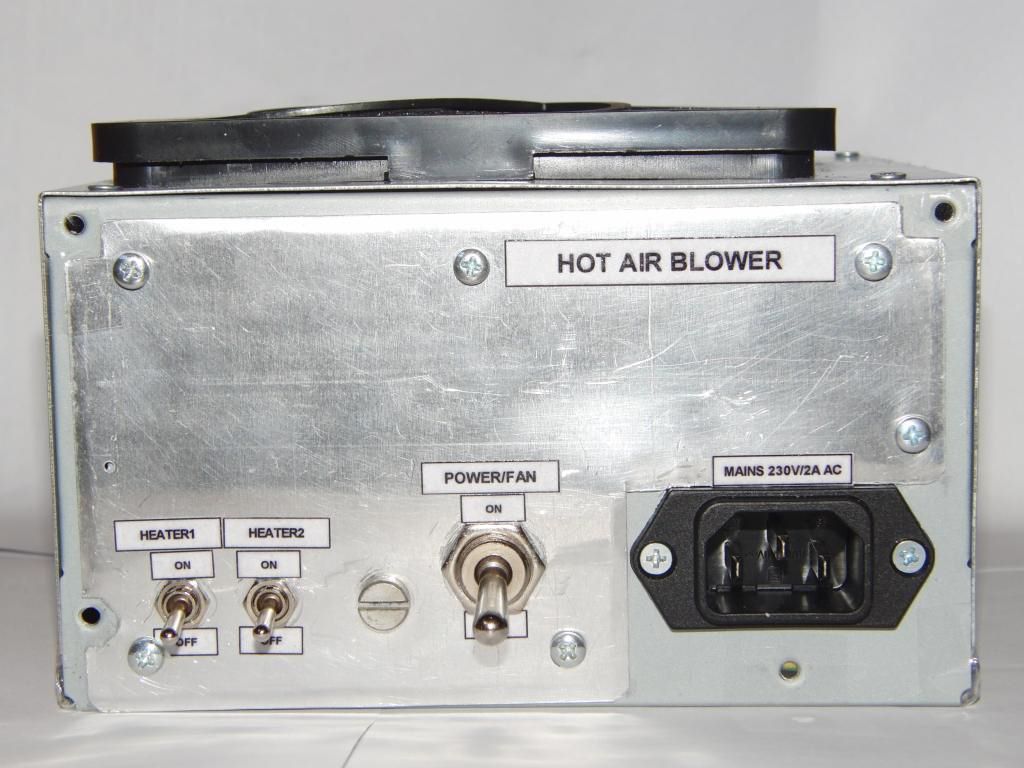
The electrical wiring was simple. The main switch powers up the fan and enables the heaters. Two other switches power up (if enabled) the two heater segments. Originally there was a plan to add diodes in series with the heaters, with a switch to allow reducing the energy by half, however at the end it was decided to hardwire the diodes there without the switch, as the airflow was too low and the heaters were quickly overheating at full power. (Fortunately there is a bimetal-based thermal fuse in the heater assembly, which cuts the power to the heater when it overheats, preventing lasting damage.)
The heater assembly was secured in place using silicone caulking.
It was measured that the air temperature at the outlet at full power is around 250 °C, which is just about right ceiling to not damage most things. The temperature drops with distance from the vent.
The unit proven to be useful for gentle drying of paints, melting of some compounds (e.g. wax), and softening adhesives and plastics. Its relatively low noise is a definitive plus in comparison with the original hairdryer; that goddamned thing was AWFULLY loud.
Yayım tarihi: 2020/02/05

trafoyu boya sökücü içinde bir gün bekletiyorum nüveler kolayca çıkıyor bence daha uygun bir yöntem. malum elektrik artık çok masraflı 😀
Gev Hocam Acaba indiksiyonlu bir sistemle nüveye ısıtma oluyormu deneme yapılmışmıdır …